

Japandi Living Room in Ontario: How to Mount Your TV the Minimalist Way (2026 Guide)
October 18, 2026
Playset Assembly in St. Catharines: Buying & Building a Christmas Playset (2026 Guide)
October 19, 2026
Thanksgiving is behind us, Halloween is two weeks out, and across Southwestern Ontario the conversation is already turning to the holidays. Interior designers are saying the same thing this year: start decorating the weekend after Thanksgiving so you can enjoy the season for a full month, and leaning into the 2026 trends like warm earthy palettes and natural greenery means your walls are more visible than ever — a flocked tree and dried-citrus garlands do not distract the eye the way a fully trimmed mantle used to.
That is exactly why this is the best week of the year to fix your walls. Before a single nail, hook, or adhesive strip goes up, take a walk through your home and look at your drywall the way a guest would at a holiday dinner. The nail holes from last year’s stockings, the dent where the tree skirt hid a bump, the crack in the corner that appeared after last winter’s freeze-thaw — they are all still there, waiting to ruin a freshly decorated room.
This guide walks you through a pre-holiday drywall repair in Southwestern Ontario checklist: what to fix before you decorate, how to fix it, how long it takes, and what it costs in 2026.
Why October Is the Ideal Window for Drywall Repair
Holiday decorating has a hidden dependency: drywall repairs need real curing time. Joint compound goes on in thin coats, each one needs a day to dry, and paint wants 48 hours before anything is taped or hung on it. If you start decorating the second week of November, the drywall work has to happen now.
There is a practical bonus too. In late October your furnace is not running constantly yet, so indoor humidity sits in a comfortable range for compound and paint to cure evenly. Wait until December, when the heat is blasting and the air is dry, and patches dry too fast — fast drying is one of the main causes of hairline cracks reappearing in corners.
And then there is the simple psychology of it: patching walls now, while the house is still calm, means the decorating season starts with a clean canvas instead of a chore list.
The Pre-Decorating Wall Audit: A Room-by-Room Walkthrough
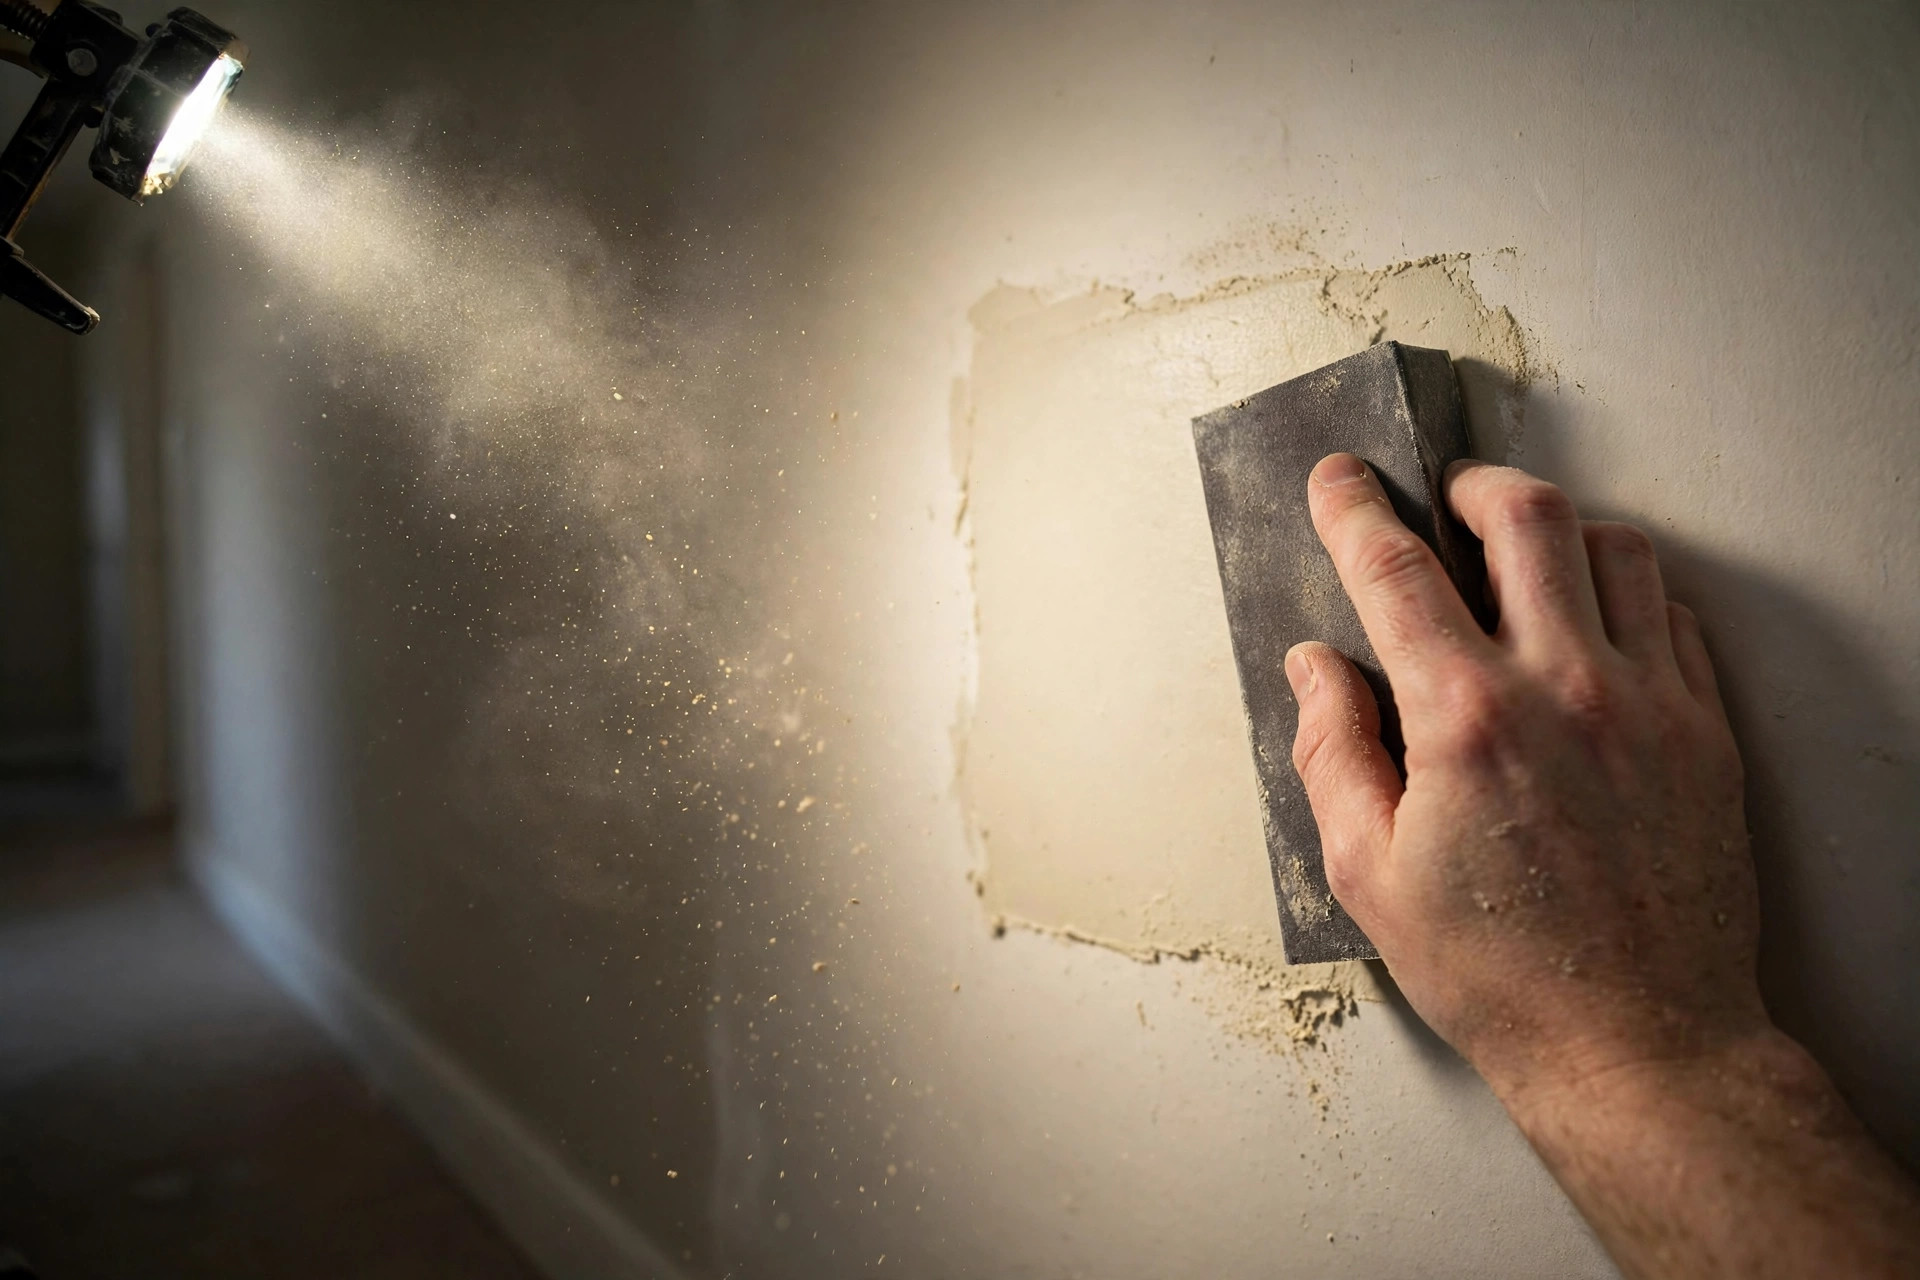
Grab a bright work lamp or a strong flashlight and walk each room you plan to decorate. Hold the light at a low angle against the wall — raking light exposes every dent, ridge, and nail hole that overhead lighting hides.
Write down what you find in each room:
- Nail and screw holes — leftovers from last year’s wreaths, stockings, and garlands. The most common issue by far.
- Doorknob and door-stop dents — those half-moon punches behind doors where the knob met the wall.
- Adhesive-strip damage — the command strips that took paint with them in January.
- Cracked corners — especially inside corners where walls meet, common in Southwestern Ontario homes after a winter of freeze-thaw foundation movement.
- Scuffed and bumped areas — behind furniture that gets moved for the tree, in hallways where guests squeeze past with coats.
- Peeling tape at seams — ceiling-wall joints where the joint tape is lifting.
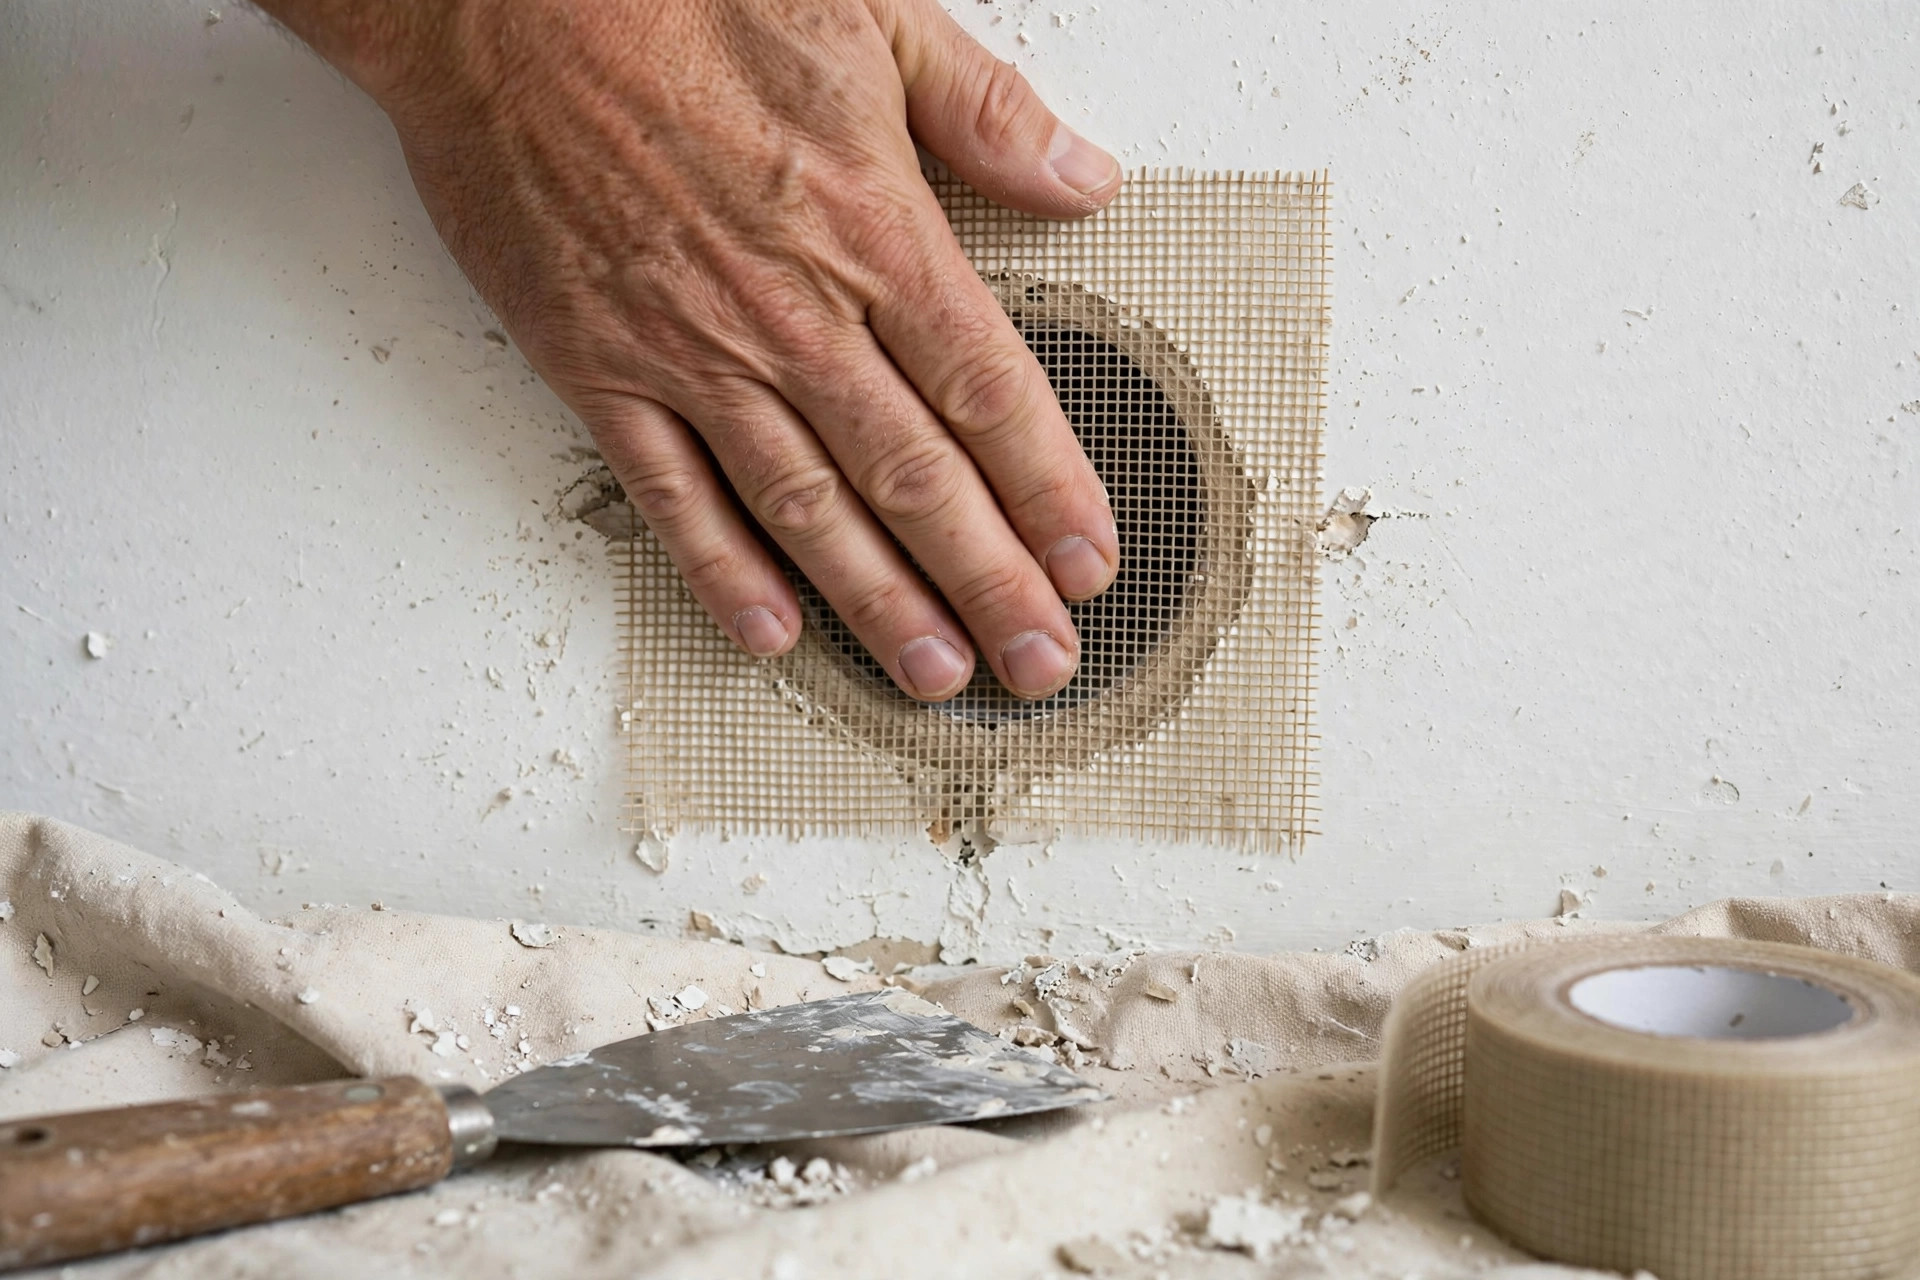
A typical Southwestern Ontario living room turns up five to fifteen small repairs. That sounds like a lot, but nearly all of them are one-visit fixes — the work is quick, it is the drying time between coats that sets the schedule.
Fixing Each Type of Damage the Right Way
Nail and screw holes
Press a dab of lightweight spackling over each hole with a putty knife, scrape flush, let dry, sand lightly, and touch up with paint. Do not squeeze compound out of the tube directly into the hole — overfilled holes leave a bump that shows through paint. One coat is usually enough for small holes.
Doorknob dents (up to fist-size)
This is the classic mesh-patch job. Stick a self-adhesive mesh patch over the dent, feather two or three thin coats of joint compound over it (each wider than the last), and sand between coats once dry. Thin coats are the entire secret — one thick coat will crack, sag, and take days to dry.
Cracked inside corners
Cut out any loose compound first, then bed fresh paper tape into wet compound along the corner and feather both sides. In older London and Kitchener homes with plaster or mixed plaster-and-drywall walls, corner cracks may need a flexible caulk-and-compound combo rather than rigid tape, since the two materials move differently.
Peeling joint tape
Pull off everything loose, re-bed new tape in fresh compound, and feather it out at least 15 cm past the old edge. If the tape has failed across a whole seam, the wall behind it may have moisture issues — that is a “find the cause before the repair” situation, not a cosmetic one.
The Timeline: Work Backwards From Decorating Day
Plan your drywall repairs two to three weeks before you intend to decorate. Here is the honest math:
- Day 1: audit the walls, buy materials, do all patches and first coats.
- Days 2–3: second and third coats (only on the repairs that need them), sanding as each dries.
- Day 4: prime every patch — bare compound drinks paint, so skip primer and the touch-up will flash dull against the old paint.
- Days 5–6: paint touch-ups, then a full cure before anything is hung or taped.
Most whole-room patch lists compress into one visit from a pro, with return trips only for sanding and paint. As a rule, budget a full week from first mud to first garland.
What Pre-Holiday Drywall Repair Costs in Southwestern Ontario in 2026
For the typical holiday-prep scope — a walkthrough patch list of small holes, a couple of mesh patches, and one or two cracked corners — most Southwestern Ontario homeowners land in these ranges:
- Minimum service call (a handful of nail holes and touch-ups): $150–$250
- Full room patch list (holes, mesh patches, one corner repair, sanded and primed): $300–$500
- Multiple rooms or larger damage (seam repairs, several corners): $500–$900+
Paint touch-up paint is the wildcard — if you have the original can, great. If the colour has faded or the can is gone, expect a colour-match discussion, since even a perfect patch shows if the paint shade is off.
DIY vs. Calling a Pro: An Honest Take
Nail holes are genuinely DIY-friendly. A tube of spackle, a putty knife, and fifteen minutes will clear most of them, and the stakes are low.
Mesh patches, cracked corners, and peeling seams are a different story. The work is not technically hard, but it is unforgiving: one thick coat of compound, one skipped sanding pass, or one unprimed patch, and the repair is visible every time the tree lights hit the wall. Pros do this daily, so a room that takes you two weekends of evenings takes them one day. Companies like BuildNest in the Niagara region regularly bundle holiday-prep drywall patches with other small jobs — hanging the heavy mirror, mounting the TV, fixing the door that sticks — into a single visit, which is often how a patch list actually gets finished instead of living on the fridge for another year.
Call a pro when: the damage is bigger than a fist, multiple rooms are involved, the wall is plaster rather than drywall, or decorating day is less than two weeks away.

Southwestern Ontario Homes Have Their Own Wall Quirks
A few regional notes worth knowing. Freeze-thaw cycles are the number-one cause of the corner cracks that show up each October in homes from London to Kitchener-Waterloo — if the same corner cracks every year, that is settlement, and it deserves a look rather than just another layer of mud. Homes in older neighbourhoods across Stratford, Woodstock, and Brantford often have plaster walls, which patch differently than drywall and crack differently too. And if your decorating plan involves adhesive hooks on fresh paint — very much in line with the damage-free decorating trend — give the paint a full 30-day cure before sticking anything to it, or January’s takedown will undo October’s work.
FAQ: Pre-Holiday Drywall Repair
How far ahead of the holidays should I schedule drywall repair?
Start at least two to three weeks before you plan to decorate. Compound needs a day between coats, primer and paint need their cure time, and rushing any of it is how patches end up visible in the holiday photos.
Can I hang garlands and wreaths on freshly patched walls?
Not immediately. Nails and screws are fine once the paint has cured (about 48 hours for latex), but adhesive strips and hooks need fully cured paint — up to 30 days — or removal will pull paint and compound with it. This is the most common January regret, and planning the repair in October is exactly how you avoid it.
Will patched spots show through paint?
They will if the patch was not primed, if the compound was over-sanded, or if the paint colour does not match. A pro repair — thin feathered coats, a proper sanding, primer, and a decent colour match — is invisible under normal light.
Do I need to repaint the whole wall after patching?
Usually not, if the existing paint is in good shape and you have the original colour. Touch-ups blend best when the wall is painted in a flat or eggshell finish; glossier finishes show touch-ups more, and a full wall repaint is the safer call there.
Who handles a holiday-prep patch list in the Niagara area?
A general handyman service is the right trade for a mixed patch list — holes, dents, and corners in one visit rather than a drywall contractor’s minimum project. BuildNest, for example, takes small-repair lists like this across the Niagara region, and a quick call to 905-519-1011 with your audit list is enough for them to tell you whether you are in minimum-call or multi-room territory.
Fixing the walls before the decorating is one of those jobs that pays off twice: the holidays look better, and the repair is done on your schedule instead of rushed between the tree going up and the in-laws arriving. Walk the rooms, write the list, and get the mud on the wall now — your December self will be glad you did.