
Door Lock Installation in Niagara Falls: Winter-Ready Locks Before the First Freeze (2026 Guide)
October 18, 2026
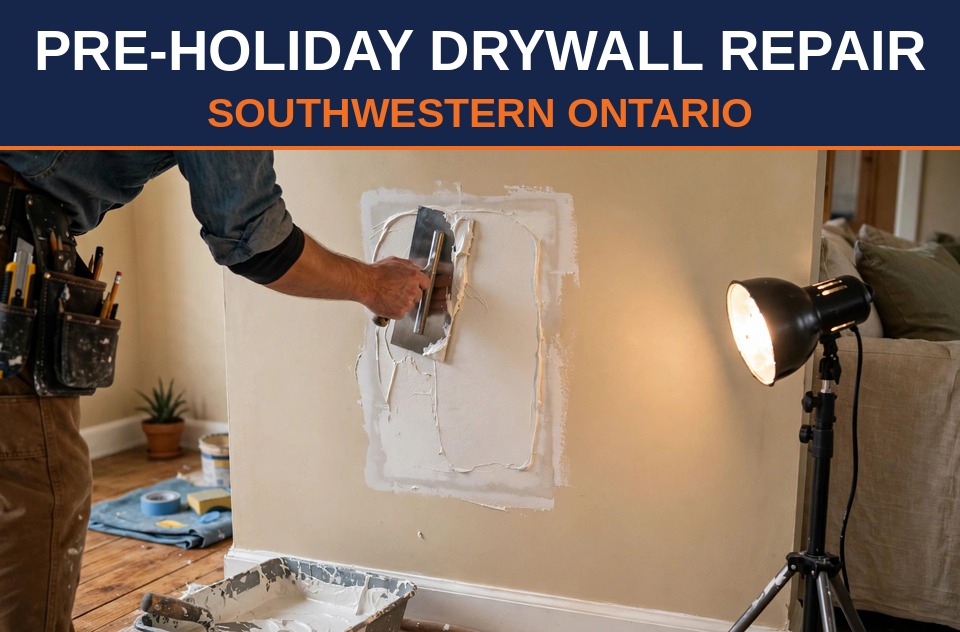
Pre-Holiday Drywall Repair in Southwestern Ontario: Patch Walls Before You Decorate (2026 Guide)
October 18, 2026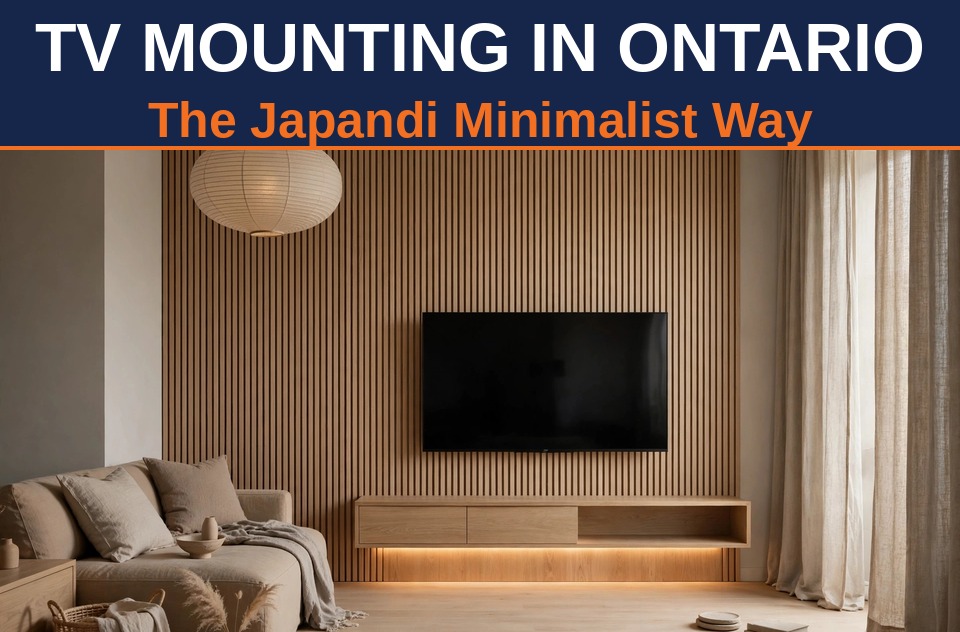
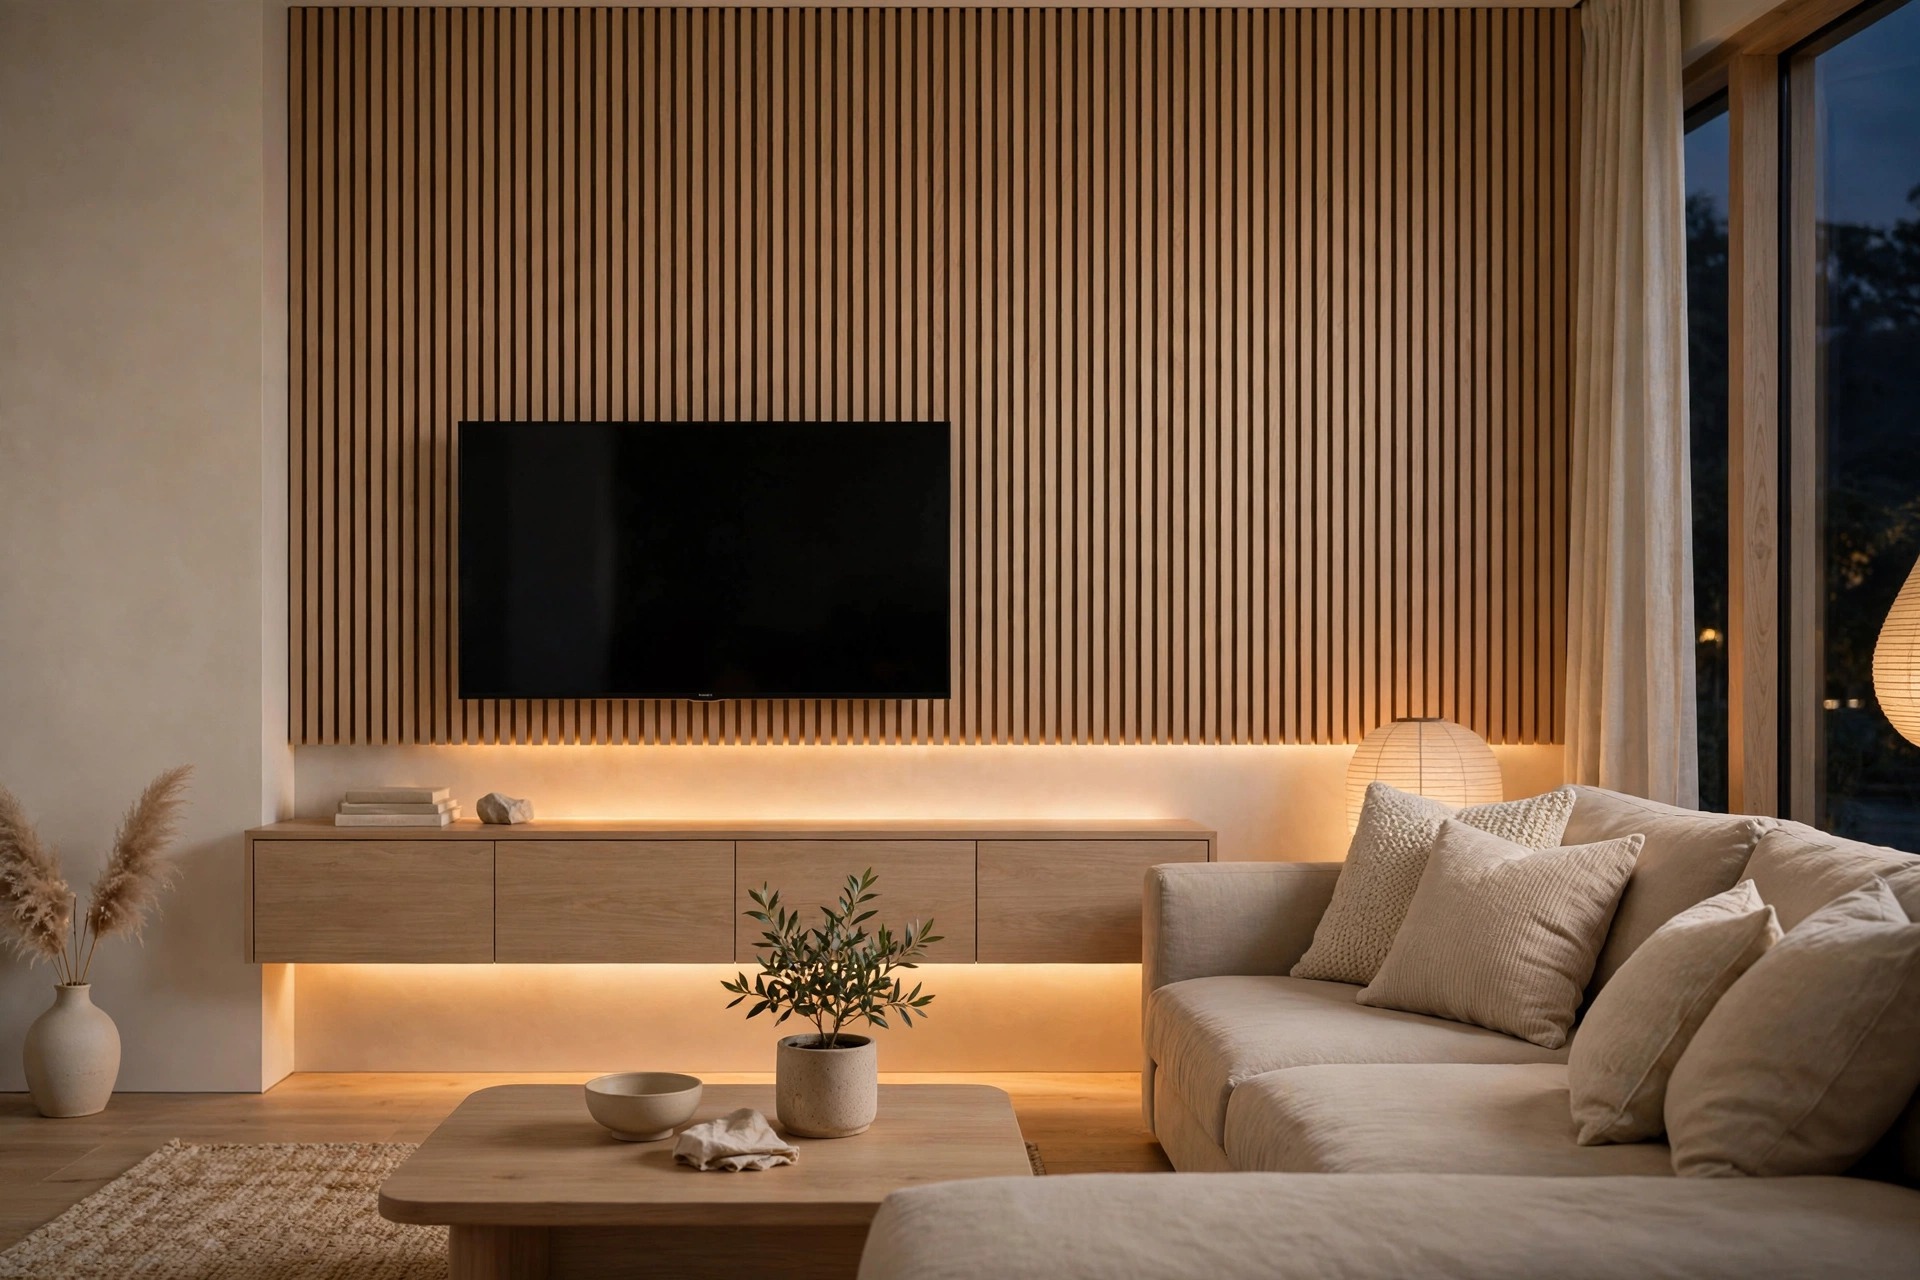
One of the biggest design stories of 2026 is the rise of the Japandi living room — the calm, clutter-free blend of Japanese wabi-sabi and Scandinavian warmth. Search interest for “Japandi living room” has more than tripled this year, and the look dominating Pinterest boards across Ontario is unmistakable: a wall-mounted TV floating over a light-oak slat panel wall, a low floating cabinet with hidden storage, and warm LED light washing the whole thing in a soft evening glow.
It looks effortless. It is not. A Japandi TV wall is one of the more technically demanding TV mounting jobs in Ontario homes, because every element — the slat panels, the mount, the cabinet, the cables — has to work together behind the scenes. Get one part wrong and the whole “serene minimalism” effect falls apart. This guide walks through each piece in the order a pro would build it.
What makes a Japandi TV wall
Japandi is about visual quiet: natural materials, neutral tones, low furniture, and nothing on show that doesn’t earn its place. For the TV wall, that translates into five elements:
- Slat (fluted) panel accent wall — vertical light-oak or ash slats, the signature texture behind the TV.
- Wall-mounted TV — centred on the panels, at the right height, perfectly level.
- Low floating cabinet — wall-hung, with hidden storage for consoles and remotes.
- Warm LED cove lighting — 2700–3000K strips behind or beneath the cabinet.
- Zero visible cables — the one rule the style never bends on.
The panels set the mood, but the mounting is what holds it together — literally. Let’s build it in order.
Step 1: The slat panel wall
Slat panels typically come as pre-assembled MDF-backed sections in oak or walnut veneer, about 2.7 metres tall. On most Ontario drywall, they go up with construction adhesive plus a few screws into studs for insurance. Two things matter here:
- Find the studs first. The TV mount and floating cabinet both need solid anchoring, and you can’t see the studs once the panels are up. Mark stud centres on the drywall with painter’s tape and photograph the layout before covering it.
- Keep the panels plumb. Slats run floor to ceiling, so even a few millimetres of lean at the bottom becomes obvious at the top. A long level (or laser) is non-negotiable, especially on the older, slightly wavy walls common in Niagara’s century homes.
Step 2: Mounting the TV through the panels
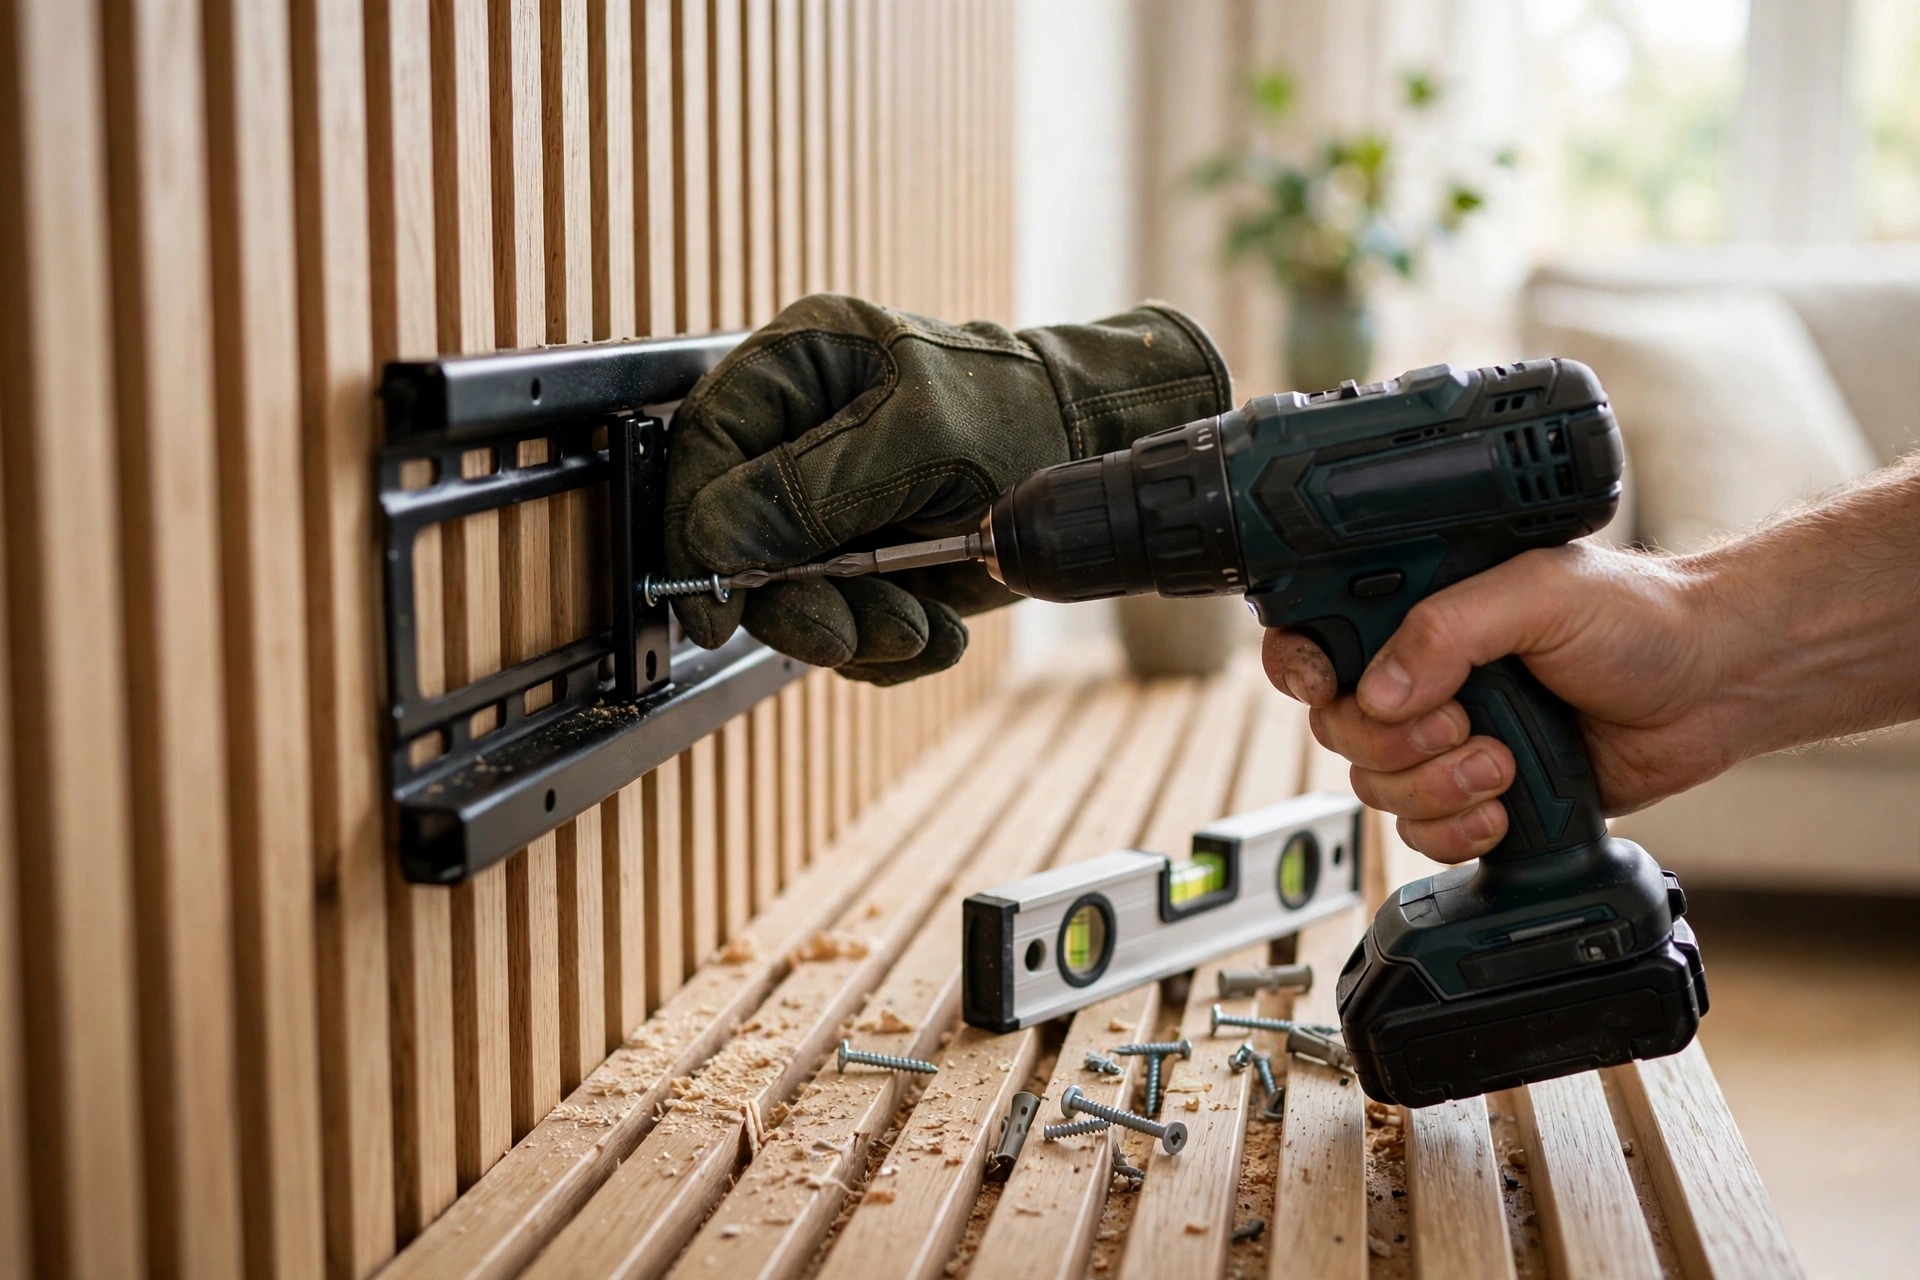
This is where DIY attempts most often go sideways. A 55–65 inch TV weighs 15–25 kg, and all of that load has to transfer through the slat panel layer into the wall behind it.
- Anchor into studs, not just panels. The lag bolts or heavy-duty toggles must reach the studs or a plywood backer. Slats alone — especially hollow acoustic-style slats — are not structural.
- Mind the offset. Slats stand proud of the drywall by 15–25 mm, so use a low-profile fixed mount and longer bolts with spacers; a tilting mount can work if you keep the tilt locked.
- Centre height: 105–115 cm to screen centre from the floor for seated viewing. Japandi’s low furniture means mounting a touch lower than the old “above the fireplace” standard.
- Level twice. Check the bracket with a level before hanging the TV, then check the TV itself — panels make even a slight tilt shout.
Step 3: The floating cabinet and hidden storage
The low floating cabinet is the workhorse of the look — it swallows game consoles, cable boxes, and remotes so the wall stays clean. Most are 200–300 mm deep and hang on a French cleat or wall bracket. Two cautions:
- Hang it into studs (or use a continuous plywood backer strip behind the panels) — a cabinet loaded with electronics can exceed 30 kg.
- Leave the top surface almost bare: one small vase, one stack of books, a trailing plant. Restraint is the whole point.
Step 4: Warm LED lighting
The warm glow in every Japandi photo is a 2700–3000K LED strip tucked behind the floating cabinet or along the bottom of the slat wall, washing light up or down the panels. LED strips are cheap (about $20–30 for 5 metres) and install with adhesive backing, but plan the power route early: the transformer needs a home, ideally inside the cabinet with the other electronics, so nothing dangles.
Step 5: Cable concealment — the non-negotiable
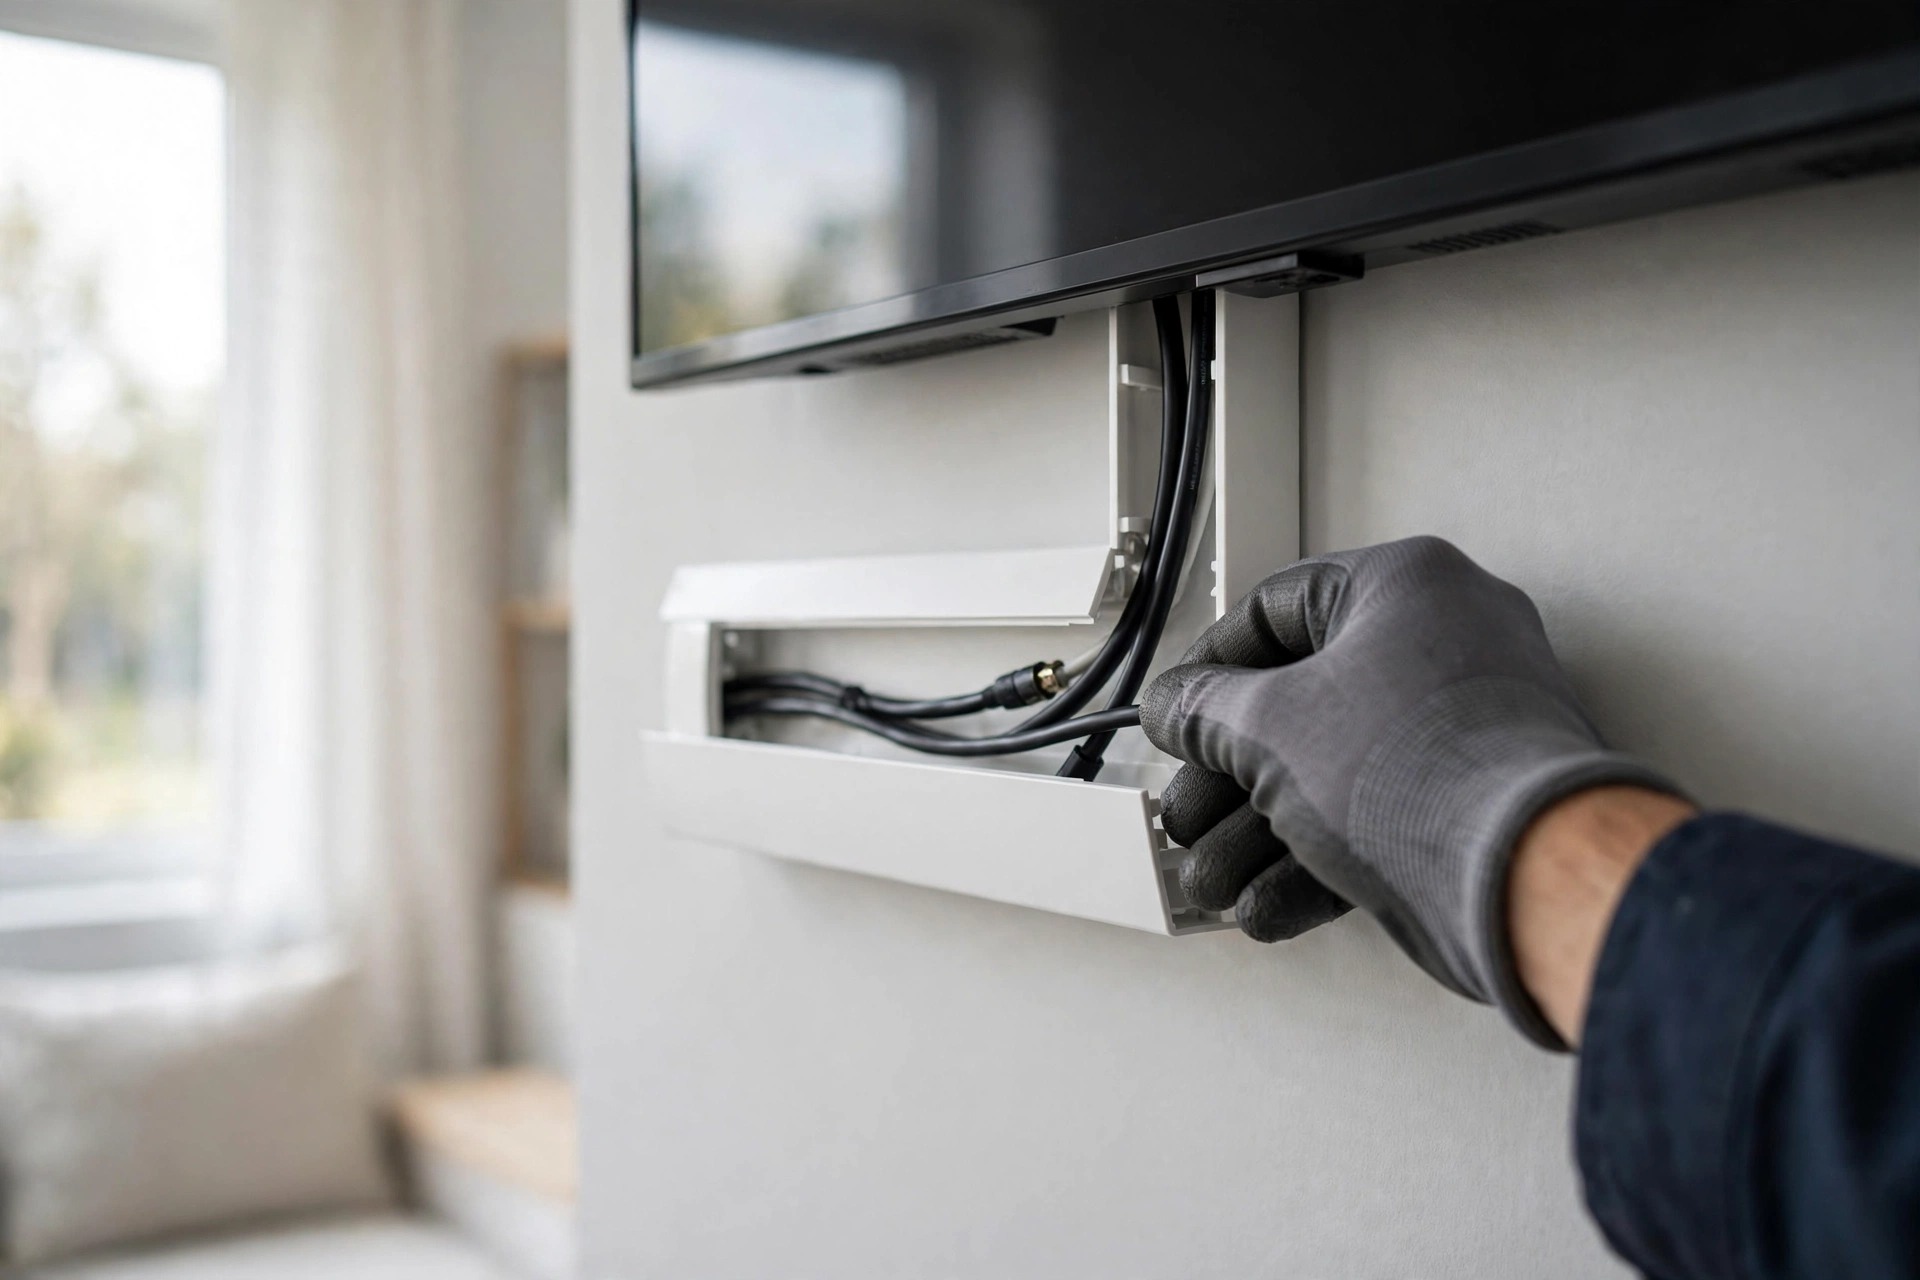
Nothing kills a Japandi wall faster than a black HDMI cable dropping from the TV to the cabinet. You have two good options:
- In-wall routing. Fish HDMI and power behind the drywall from the TV to the cabinet. In Ontario, you can run low-voltage HDMI freely behind drywall; for the power cable itself, use a code-compliant in-wall power kit rather than dropping an extension cord inside the wall (a fire-code no-no).
- Surface cable raceways. A slim, paintable channel running down a gap between slats. Less invisible than in-wall, but rental-friendly and reversible.
Plan cable paths before the panels go up — retrofitting afterwards is the expensive version of the same job.
What a Japandi TV wall costs in Ontario (2026)
Typical 2026 pricing for the components, before labour:
- Slat panels (oak veneer, one accent wall): $400–$900 in materials
- TV wall mount (quality fixed or tilt): $40–$120
- Floating low cabinet (light oak): $300–$700
- Warm LED strip kit: $20–$50
- In-wall cable concealment kit: $50–$120
Professional installation for the full package — panels, TV mount, cabinet, lighting, and cable concealment — typically runs $500–$1,100 in labour across Ontario, depending on wall condition and whether in-wall wiring is involved. In Niagara, where a lot of walls are older plaster or century-home drywall over lath, expect the higher end: those walls take more time to anchor properly.
DIY or call a pro?
Honest answer: the panels, LED strips, and styling are very doable DIY. The mounting is the part where a pro earns the fee. Drilling through slat panels into studs without cracking veneer, hanging a loaded floating cabinet level, and routing cables cleanly are all jobs where one mistake is visible forever — the style’s whole premise is that you notice everything.
If you’d rather not gamble on the wall behind a $1,500 television, this is exactly the kind of bundled job a local handyman service handles in a single visit. In the Niagara area, BuildNest is one example of an insured local outfit that does TV mounting bundled with panel and cabinet hanging — the kind of job where one visit covers the whole wall instead of three separate appointments.
FAQ
Can you mount a TV directly onto wood slat panels?
Yes, but the mount must anchor through the panels into wall studs (or a plywood backer). The slats themselves are decorative, not structural. Use longer lag bolts with spacers to bridge the panel thickness.
What height should a TV be on a Japandi accent wall?
Aim for 105–115 cm from the floor to the centre of the screen when seated. Japandi’s low, grounded furniture makes a slightly lower mount feel natural.
How do you hide cables behind a wall-mounted TV in Ontario?
Fish low-voltage cables (HDMI, optical) behind the drywall, and use a code-compliant in-wall power relocation kit for the power cable — never an extension cord inside the wall. Surface raceways work when in-wall routing isn’t possible.
How much does TV mounting cost in Ontario?
A standard TV mount install runs about $80–$180 in labour. A full Japandi wall package — slat panels, TV mount, floating cabinet, LED lighting, and cable concealment — typically runs $500–$1,100 in labour plus materials.
Who installs slat panels and mounts TVs in the Niagara region?
Several local handyman services offer this as a bundled install. If you’re in Niagara Falls, St. Catharines, Welland, or Thorold and want the whole wall done in one visit — panels, mount, cabinet, cables — you can reach BuildNest at 905-519-1011; they’re insured and do same-week bookings. The key question to ask any installer: “Will the mount anchor into studs behind the panels, and how are the cables getting hidden?”