

Dark Evenings Are Coming: Outdoor Security Lighting & Smart Home Installs in Niagara (2026 Guide)
October 21, 2026
Curtain & Blind Installation in St. Catharines: TikTok’s Layering Trend, Done Right (2026 Guide)
October 21, 2026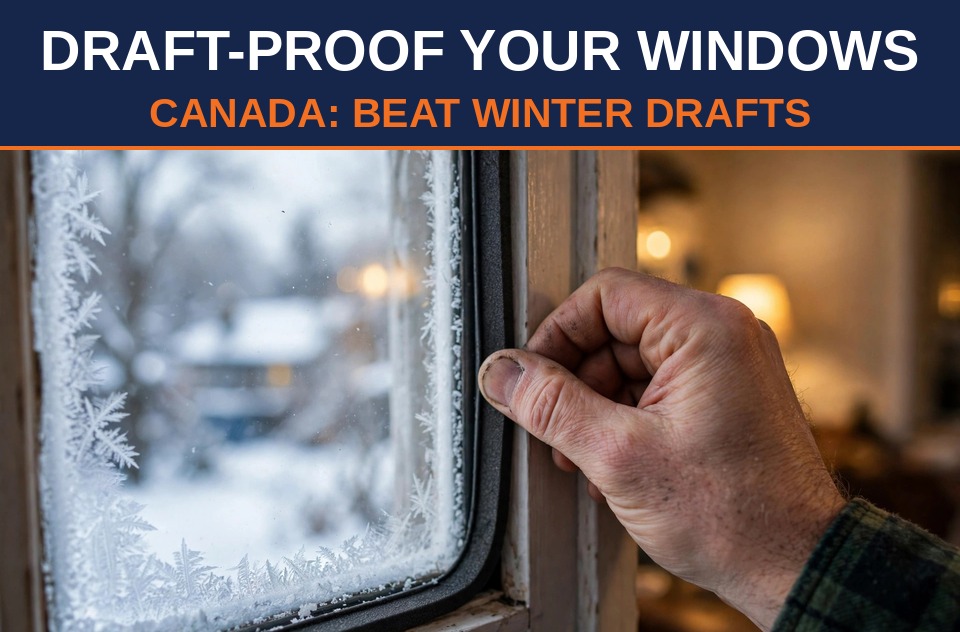
Frost Season Is Here — And Your Windows Know It
Environment Canada issued a frost advisory for the Niagara region this week, with overnight lows dipping to just 1°C in places like St. Catharines, Niagara Falls, and Welland. If you woke up to frost on the lawn, you are one cold snap away from feeling every leaky window in your house.
Drafty windows do more than make a room chilly. Cold air leaking in forces your furnace to run longer, and warm air escaping out the same gaps sends your heating bill climbing through December, January, and February. Natural Resources Canada notes that windows and doors are among the biggest sources of heat loss in a typical Canadian home. The good news: sealing those drafts is one of the cheapest, fastest DIY projects you can do this fall.
This step-by-step DIY guide shows you how to draft-proof your windows in a single afternoon — under two hours, for about $30–$60 in materials. No power tools, no experience required.
Tools & Materials
Gather these before you start. Everything is available at Canadian Tire, Home Depot, or any hardware store across Ontario.
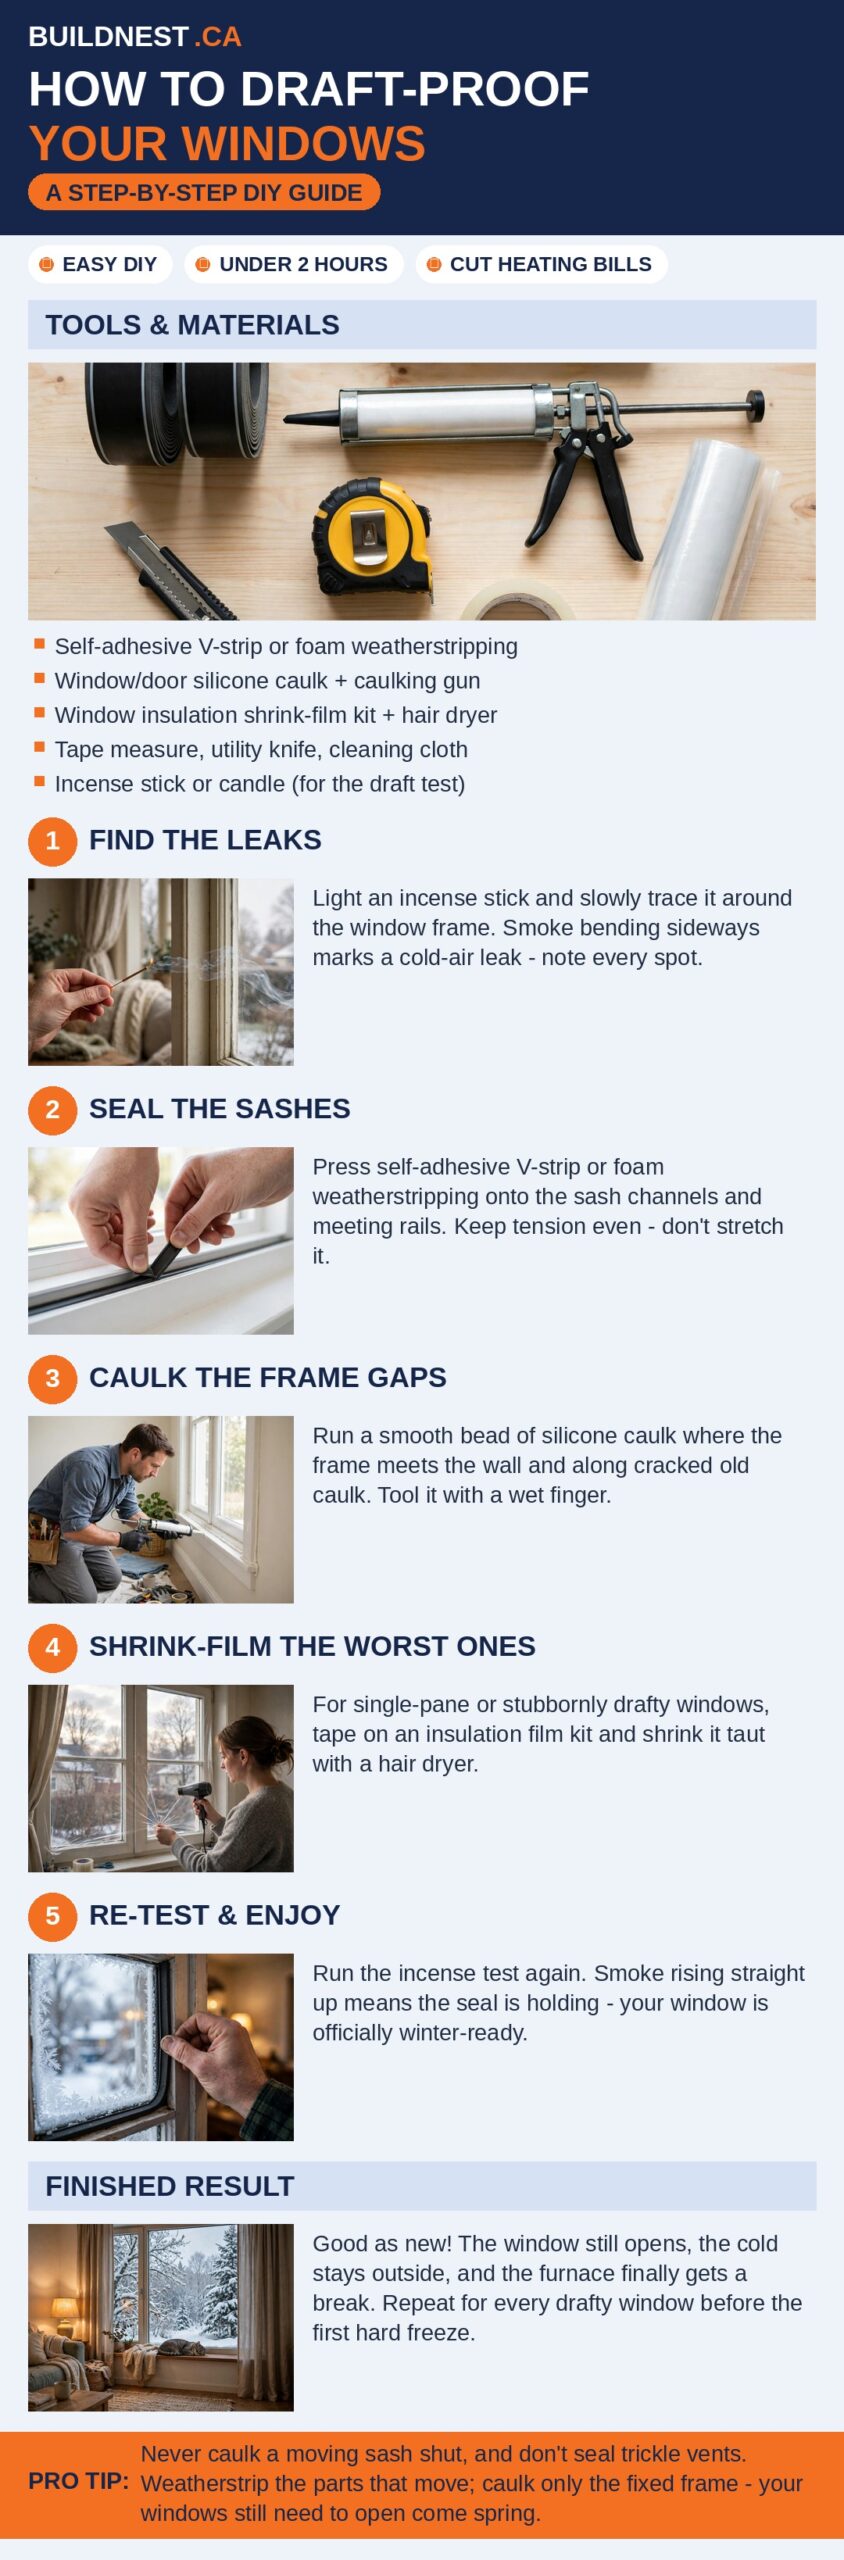
- Self-adhesive V-strip or foam weatherstripping — for the moving parts of the window (sashes and meeting rails)
- Window and door silicone caulk + caulking gun — for fixed gaps where the frame meets the wall
- Window insulation shrink-film kit + hair dryer — for single-pane or stubbornly drafty windows
- Tape measure, utility knife, and a cleaning cloth — prep basics
- An incense stick or candle — your draft detector
Total cost: roughly $30–$60 for a typical window. Most homes have 3–6 windows that actually need attention.
Step 1: Find the Leaks
Don’t guess — test. Light an incense stick and slowly trace it around the window frame, sash joints, and where the trim meets the wall. Where the smoke bends sideways or flickers, cold air is getting in. Mark every spot with a small piece of painter’s tape so you know exactly where to work.

Also check the exterior of the frame if you can reach it safely. Cracked or missing caulk outside is a draft source that interior fixes can’t fully solve.
Step 2: Seal the Sashes
The parts of the window that move are where most drafts start. Wipe the sash channels clean and dry, then press self-adhesive V-strip or foam weatherstripping into the groove along the sash and meeting rails. Work in one continuous strip where possible, and keep tension even — don’t stretch it, or it will pull loose when the temperature drops.
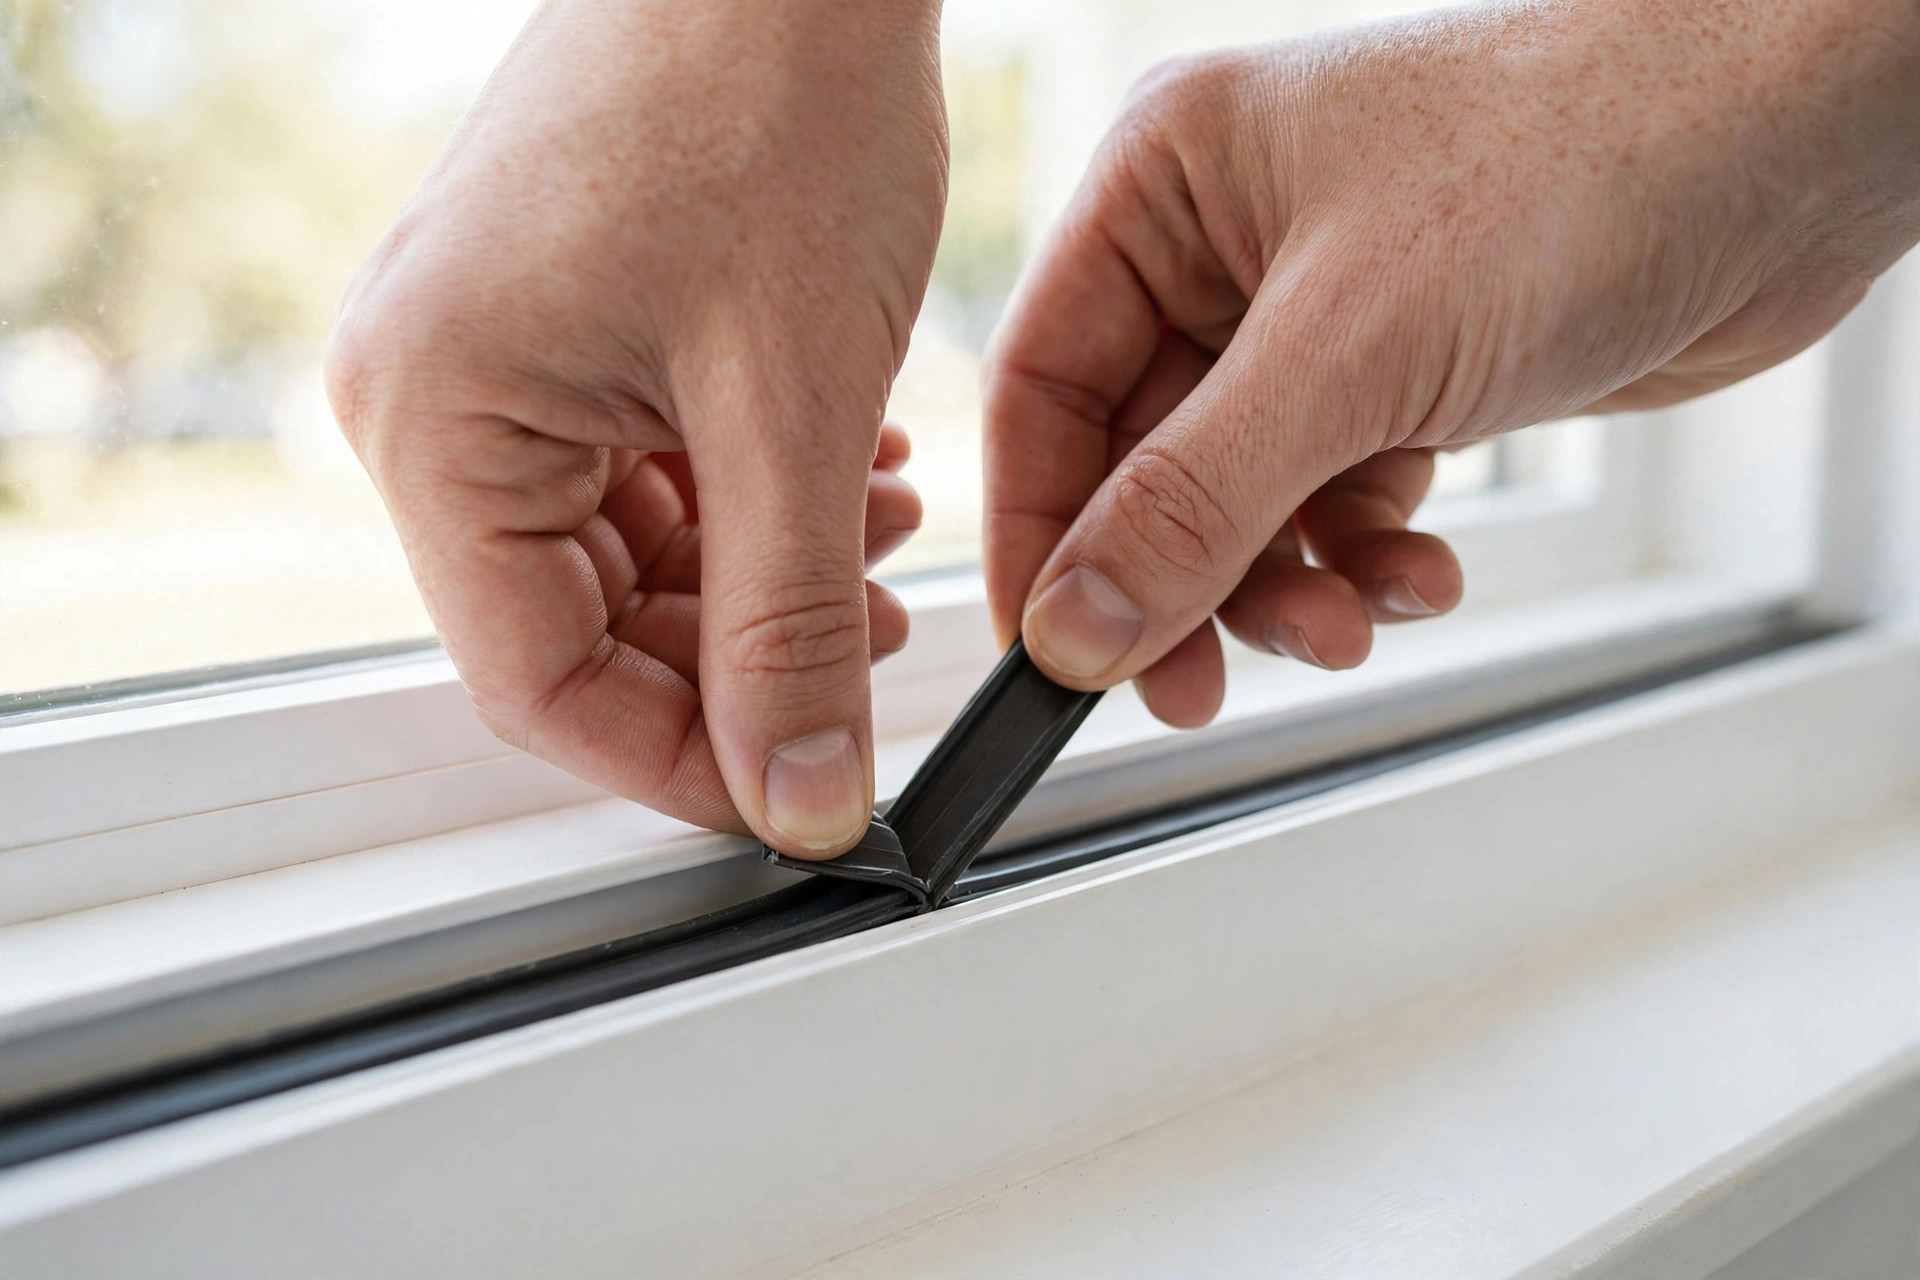
Open and close the window once after applying. It should close firmly but smoothly. If the sash won’t latch, the strip is too thick — switch to a lower-profile foam tape.
Step 3: Caulk the Frame Gaps
Next, seal the fixed gaps: where the window frame meets the wall, around the trim, and anywhere old caulk has cracked or pulled away. Cut the caulk tube nozzle at a 45° angle, run a steady bead along the gap, and smooth it with a wet finger for a clean finish.

Important: caulk only the fixed frame — never the moving sash. If you caulk the sash shut, the window won’t open in spring.
Step 4: Shrink-Film the Worst Offenders
Got one or two windows that are single-pane, rattly, or just impossible to fully seal? A window insulation film kit is your backup plan. Tape the clear film around the entire window trim, then shrink it taut with a hair dryer. The trapped air layer acts like a second pane of glass and can make a dramatic difference on the worst windows.
The film goes on the inside of the window and peels off cleanly in spring — perfect for older homes with original windows.
Step 5: Re-Test & Enjoy
Run the incense test one more time around every window you sealed. Smoke rising straight up means the seal is holding and your window is officially winter-ready. Wipe down the glass while you’re at it — clean windows let in more of the weak winter sun, and every degree of free solar heat counts.
PRO TIP: Never caulk a moving sash shut, and don’t seal trickle vents or the windows in bathrooms and kitchens that rely on ventilation. Weatherstrip the parts that move; caulk only the fixed frame — your windows still need to open come spring.
Your Finished Result
A properly draft-proofed window still opens and closes, keeps the cold outside, and gives your furnace a real break. Do the incense test monthly through winter — adhesive strips can loosen in extreme cold, and a quick press-back is all it takes to re-seal them.
What It Costs in 2026: DIY vs. Hiring a Pro
| Job | DIY cost | Pro cost (Ontario) |
|---|---|---|
| Draft-proof one window (weatherstripping + caulk) | $30–$60 materials | $80–$150 |
| Whole house (6–8 windows) | $60–$120 materials | $250–$500 |
| Shrink-film kit (covers 3 windows) | $10–$15 | Included in pro visit |
| Full window replacement | Not a DIY job | $500–$1,200+ per window |
Draft-proofing is one of the rare home projects where the DIY savings are genuinely worth the afternoon. A handyman crew in the Niagara region, such as the team at BuildNest, can knock out a whole house in a single visit if you’d rather not spend your Saturday on a ladder or dealing with finicky old sashes.
When to Call a Pro Instead
This guide handles drafts. It does not fix broken windows. Call a professional if you find rotted wood frames, cracked glass, windows that won’t open at all, or condensation between double-pane glass (that means the seal has failed and the unit needs replacing). Those are repair or replacement jobs, not weatherstripping jobs.
Frequently Asked Questions
When should I draft-proof my windows in Canada?
Late October to mid-November — before the first hard freeze, when adhesives still bond well and you can work with windows open. Environment Canada’s frost advisories in late October are your annual reminder.
Does draft-proofing really lower heating bills?
Yes. Sealing air leaks is one of the highest-return winterization projects per dollar spent. Homeowners typically notice fewer cold spots immediately and steadier furnace cycling, which translates to real savings over a Canadian winter.
Can I draft-proof rental or apartment windows?
Shrink-film kits and removable rope caulk are renter-friendly and peel off cleanly. Check with your landlord before applying adhesive weatherstripping or permanent caulk.
How long does weatherstripping last?
Foam tape typically lasts 1–3 seasons; quality V-strip can last 5+ years. Inspect every fall — if the adhesive is peeling or the foam is flattened, replace it.
Should I replace old windows instead of draft-proofing?
Draft-proof first, especially if the frames and glass are sound. Replacement makes sense for rotted frames, failed seals, or single-pane windows you plan to keep for decades — but weatherstripping buys you most of the comfort for a fraction of the cost. For the bigger jobs, Niagara homeowners can reach a local handyman service at 905-519-1011 for an honest assessment.
Winter is coming whether your windows are ready or not. One afternoon of draft-proofing now means a warmer, quieter house and a smaller heating bill all winter long. For more winter-ready home projects, see our guides on winter-ready door locks in Niagara Falls and winter entryway storage in Southwestern Ontario, or browse BuildNest’s general handyman services in Niagara.