

Hosting Halloween? Junk Removal in Fort Erie Before the Party (2026 Guide)
October 20, 2026
Dark Evenings Are Coming: Outdoor Security Lighting & Smart Home Installs in Niagara (2026 Guide)
October 21, 2026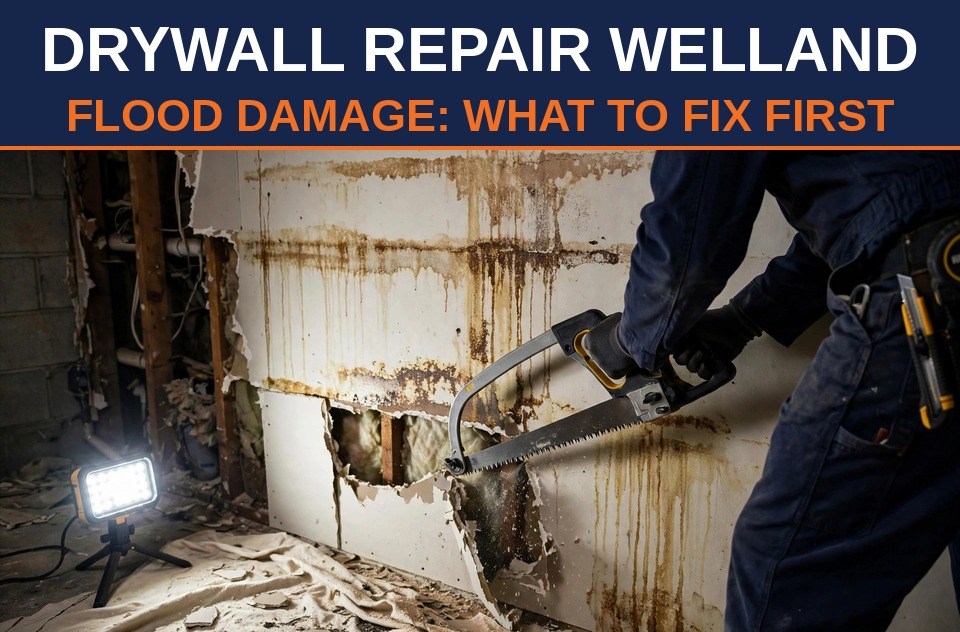
Flood-Damaged Drywall in Welland: Repair or Replace? (2026 Recovery Guide)
If your Welland basement took on water during this summer’s flooding, you’re not alone — and you don’t have to face the repair bill alone, either. Recovery is still front-page news across the region: opposition MPPs pressed Queen’s Park this week to expand disaster relief for flood-hit households, Niagara Falls has been under a state of emergency for over a month, St. Catharines homeowners are in talks over federal relief, and a $20-million emergency FLAP program is helping eligible residents cover plumbing repairs. The water may be gone, but for many Welland homes the damaged drywall is still waiting to be dealt with. This drywall repair Welland guide explains what can be saved, what must come out, and how the professionals handle it.
The 48-Hour Rule: Why Wet Drywall Rarely Survives
Standard drywall is gypsum sandwiched in paper — and paper wicks water like a sponge. Here is the uncomfortable truth most homeowners discover too late: if drywall stayed wet for more than 48 hours, it is almost always a tear-out, not a patch job. Mould can start colonizing damp paper within a day or two, and once it is established inside the wall cavity, no amount of surface cleaning reaches it.
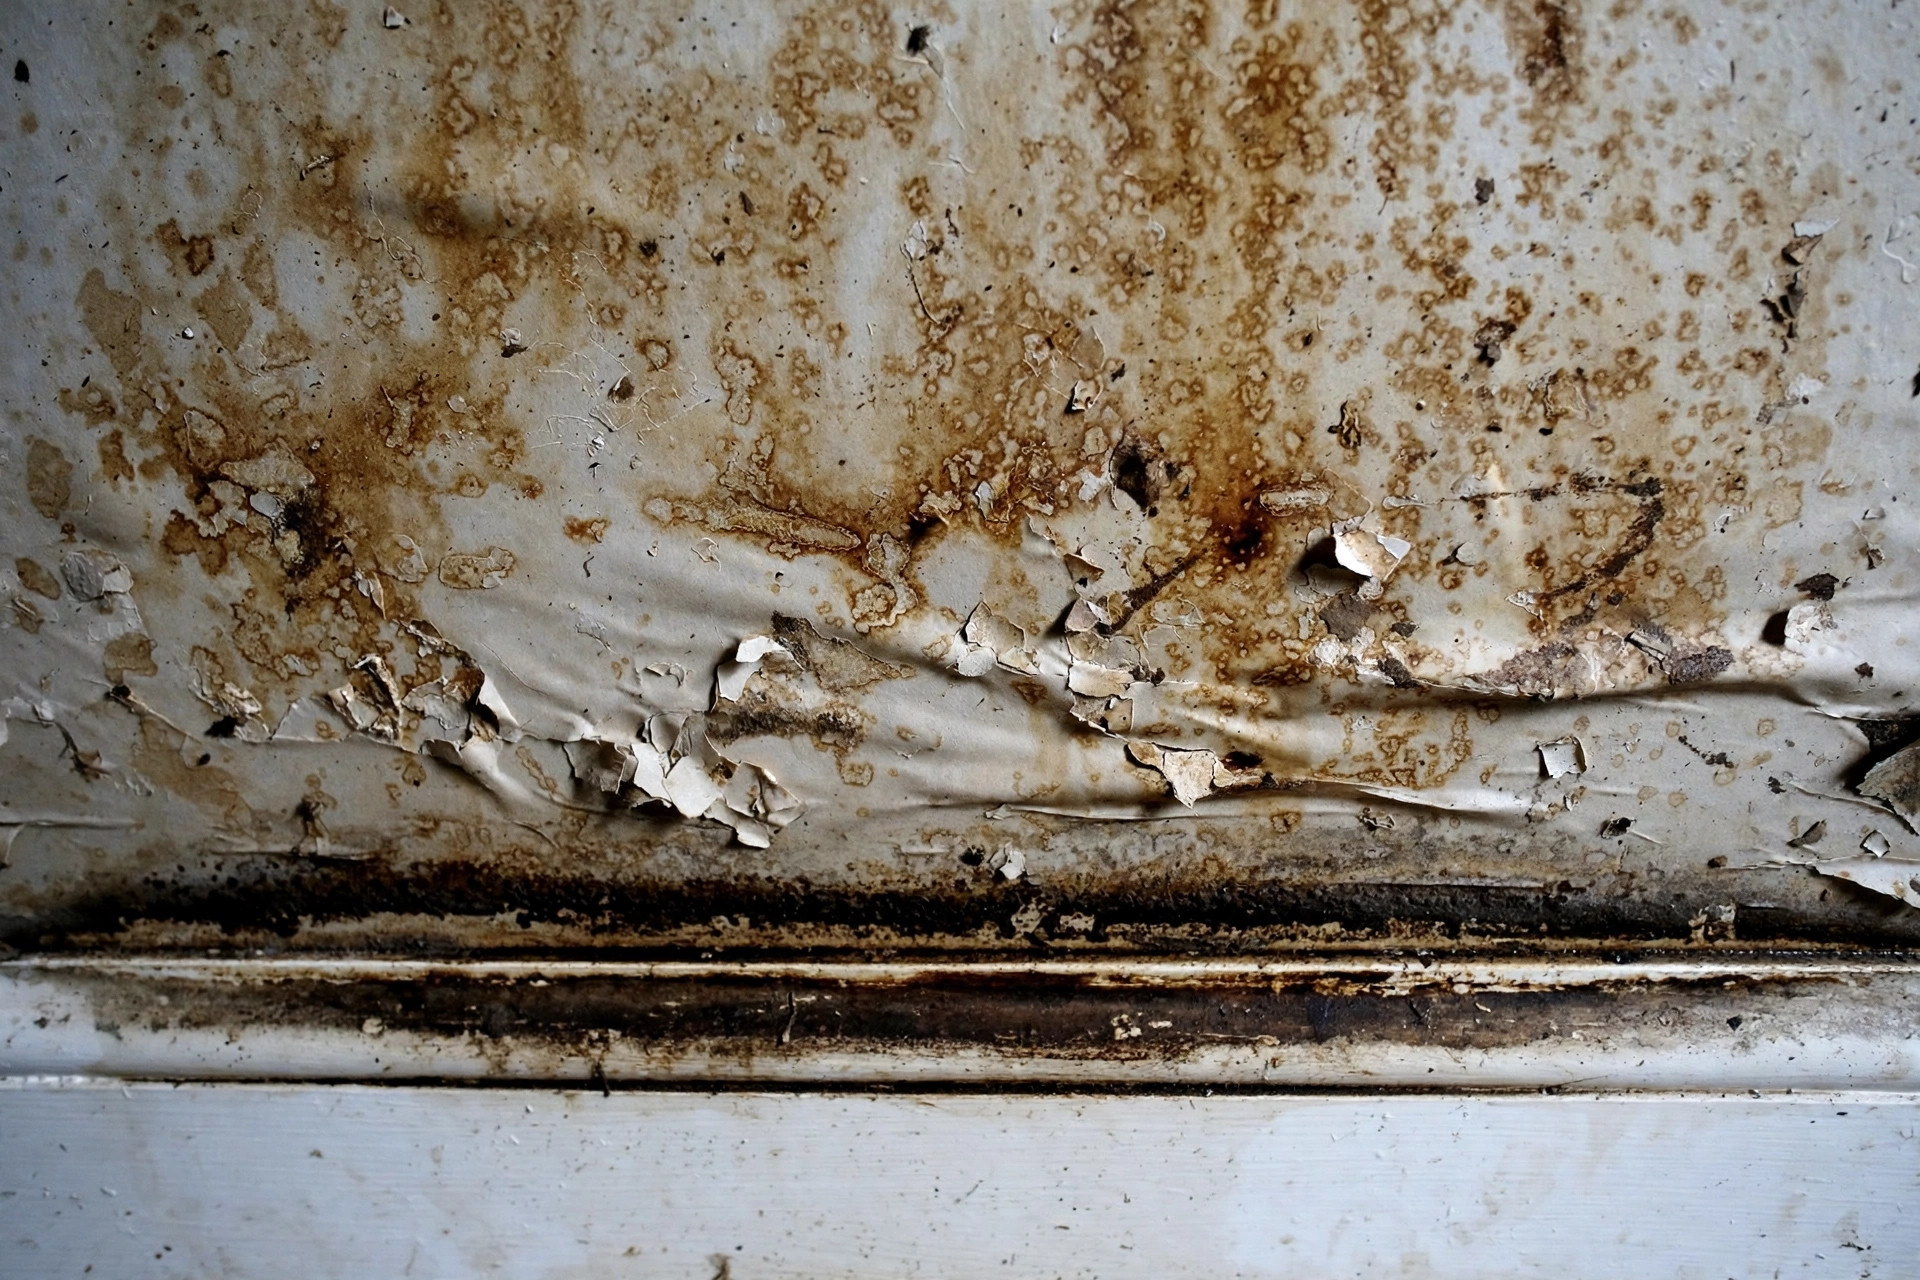
The practical rule restoration crews use is the cut line: after a flood, they cut out drywall 12 to 24 inches above the highest visible waterline — or the highest point that still tests damp with a moisture meter. Water climbs higher than the stain line through capillary action, so the visible line is never the full story. That flood-damaged drywall waterline staining you see on basement walls is the minimum damage, not the maximum.
Repair or Replace: The 5-Second Decision Guide
Not every damp wall needs demolition. Use this decision guide:
- Surface stain only, wall never stood in water — repair. If a wall got splashed or absorbed humidity but dried fully within a day, a stain-blocking primer and repaint is usually enough.
- Bottom 6–12 inches sat in standing water for days — replace the lower section. The paper backing is compromised and mould is almost certain inside.
- Drywall feels soft, crumbly, or sagging — replace. Soft gypsum has lost its structural integrity; mud and tape won’t bring it back.
- Black, green, or musty-smelling patches appeared — replace, and disinfect the cavity. Paint-over jobs trap mould colonies that keep growing behind the wall.
- Wet insulation hides behind it — replace both. Fibreglass insulation that soaked through cannot be dried in place; it must be pulled out and replaced, or it becomes a permanent mould factory.
The 5-Step Professional Process
When a crew handles drywall repair in Welland after flooding, the sequence looks like this:
1. Safety first. Power to the affected area is shut off at the panel. Flood water and wall cavities don’t mix safely with live wiring, so outlets and switches on the damaged wall get inspected before any work begins.
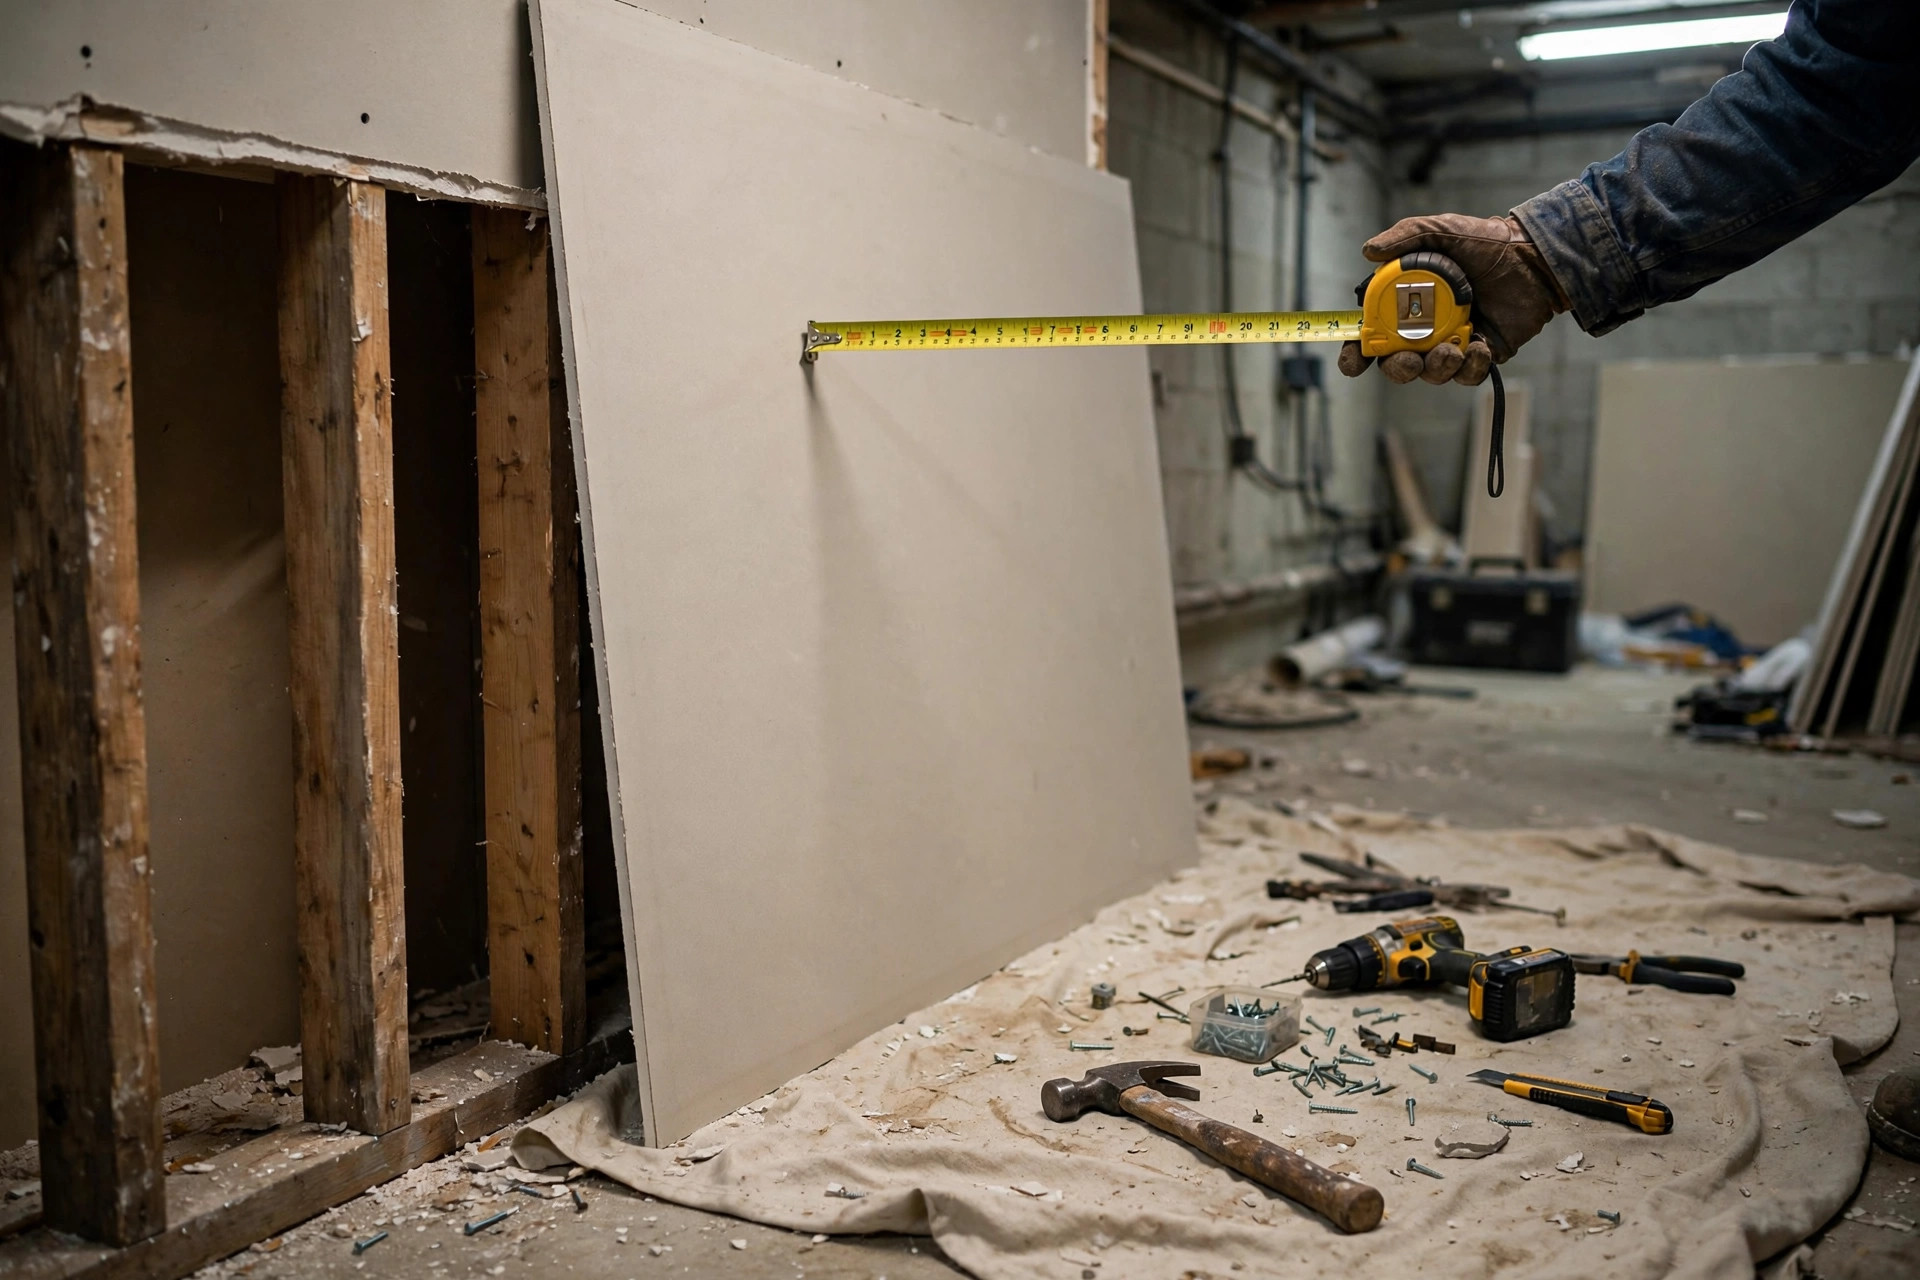
2. Cut to clean lines. The damaged section is cut out in straight, square lines above the moisture line — rectangular cuts make the new patch fit tightly and finish invisibly.
3. Dry the structure. Studs and sill plates are dried with fans and dehumidifiers until a moisture meter reads safe. Covering damp framing is the number-one cause of mould callbacks.
4. Disinfect and protect. Exposed framing gets an antimicrobial treatment, and any insulation is replaced — never reused if it was soaked.
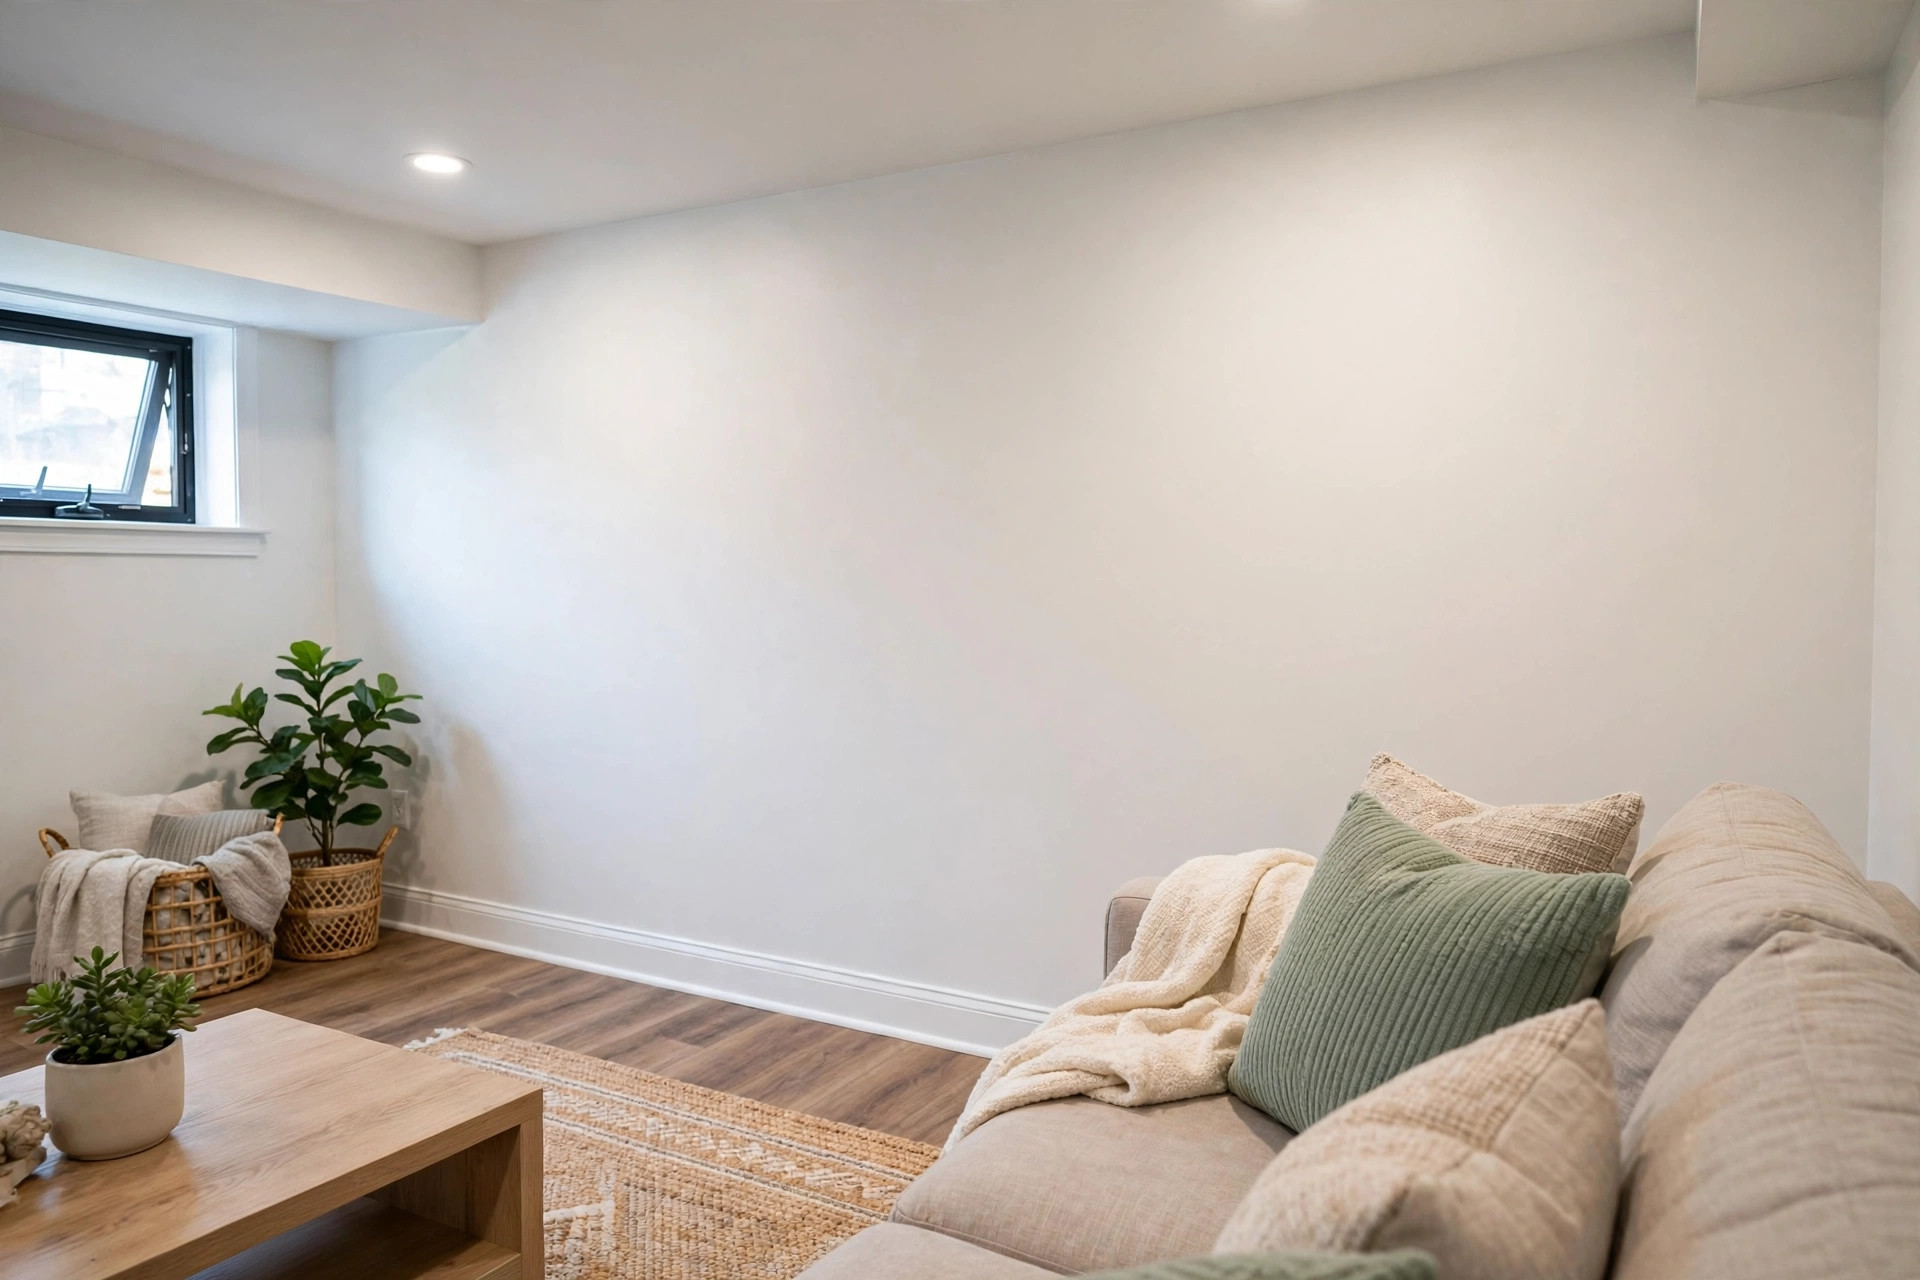
5. Rebuild smarter. New drywall goes in, ideally a moisture-resistant board in below-grade rooms. Seams are taped, mudded, sanded, primed with a stain-blocking primer, and painted. When the job is done, you shouldn’t be able to tell where the flood line was.
4 Mistakes Welland Homeowners Make After a Flood
1. Painting over the stains. It looks fixed for a month, then the stains bleed through and the mould smell returns. Stains are a symptom — the paper and insulation behind them are the disease.
2. Reusing wet insulation. Dried-out fibreglass looks fine but loses its insulating value and harbours mould. It is a false economy that costs far more later.
3. Skipping the moisture meter. Walls can feel dry to the touch while studs behind them are still at 20%+ moisture. Pros verify with a meter; guesswork is how mould problems get sealed inside walls.
4. Waiting until winter. Wet wall cavities and freezing temperatures are a brutal combination — trapped moisture expands, finishes crack, and mould keeps growing in heated homes all winter. With the province’s relief debate happening now and contractors’ schedules still open before the holidays, autumn is the right window to act.
What Does Drywall Repair Cost in Welland in 2026?
For planning purposes, typical drywall repair Welland pricing this year runs:
- Minimum service call: $150–$250 (small patches, stain-seal and repaint)
- Single room, lower-wall replacement: $300–$500
- Multi-room or whole-basement recovery: $500–$900+, depending on insulation and finishing
Flood recovery work usually costs more than a standard patch job because it includes demolition, debris removal, drying, and mould treatment — not just new drywall. If your home was hit, document everything with photos before any work starts: relief programs and insurers both want to see the damage as found.
DIY or Call a Pro?
A single small patch in an undamaged wall is a fair DIY project. Flood damage is different: it involves electrical safety, structural drying, mould judgement calls, and disposal of contaminated material. A local handyman like BuildNest can handle the full cycle — cut-out, rebuild, and finishing — and bundle it with related recovery work like hauling away the damaged debris. Many homeowners find that getting the wall opened, dried, and rebuilt properly in one visit costs less than the second trip to fix a mould problem six months later. If you’re weighing the DIY route, a quick call to 905-519-1011 can at least get you a straight answer about what’s behind your walls before you start.
More Drywall Recovery Reading
- How to Repair Drywall Holes: A Niagara Homeowner’s Step-by-Step Guide
- Pre-Holiday Drywall Repair in Southwestern Ontario: Patch Walls Before You Decorate
Drywall Repair Welland — FAQ
Can flood-damaged drywall be dried and saved?
If it was wet for under 48 hours and tests dry throughout with a moisture meter, sometimes. But paper-faced drywall that sat in standing water almost always needs the lower section cut out and replaced — drying the surface doesn’t remove mould growing inside.
How high should I cut drywall after a flood?
The standard is 12 to 24 inches above the highest damp reading, not just the visible stain. Use a moisture meter or have a pro check — water wicks higher than the stain line through the paper backing.
Does homeowners insurance cover flood drywall repair in Welland?
It depends on your policy and the water source — overland flooding and sewer backup are often separate endorsements. Photograph everything before cleanup, keep receipts, and check your policy’s fine print before hiring anyone.
Can I just paint over water stains on drywall?
On a wall that fully dried within a day, a stain-blocking primer and repaint works. On drywall that stood in water, painting traps mould behind the new coat — the damaged section must come out first.
How long does flood drywall repair take?
A single room typically takes 2–4 days including drying time; a full basement can run a week or more. The drying stage can’t be rushed — new drywall over damp studs is a mould guarantee.
Flood recovery is a process, not a weekend project. If your Welland home took on water this summer, get the walls properly assessed before winter locks the moisture in.